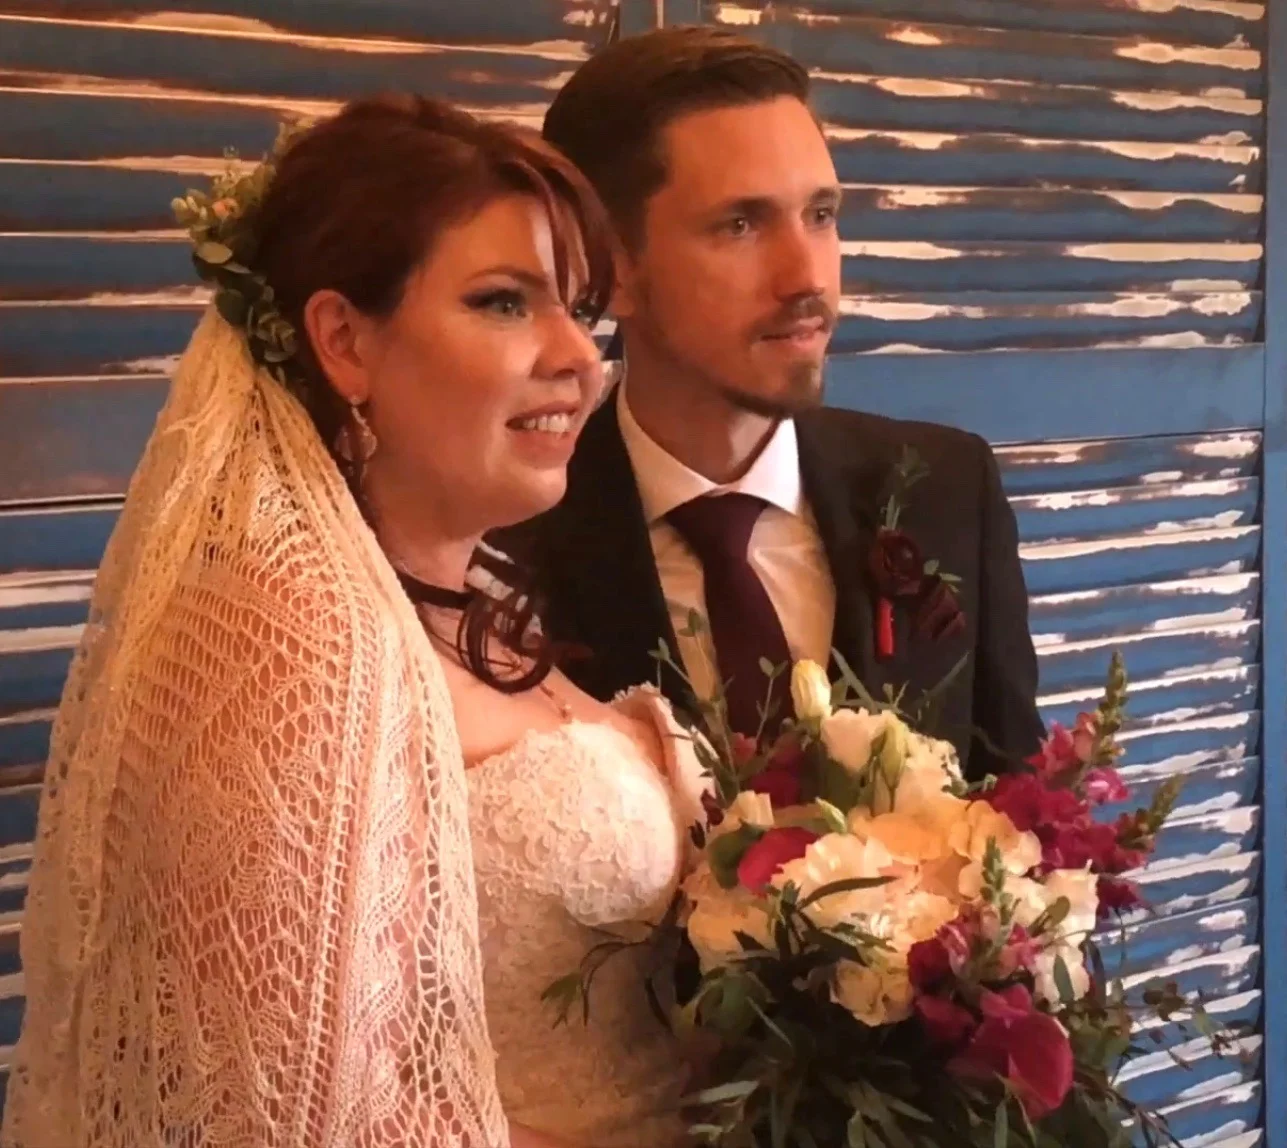


Elisha's Wedding Veil

My Son got Married this Past Month
I had the Honor of Knitting the Veil
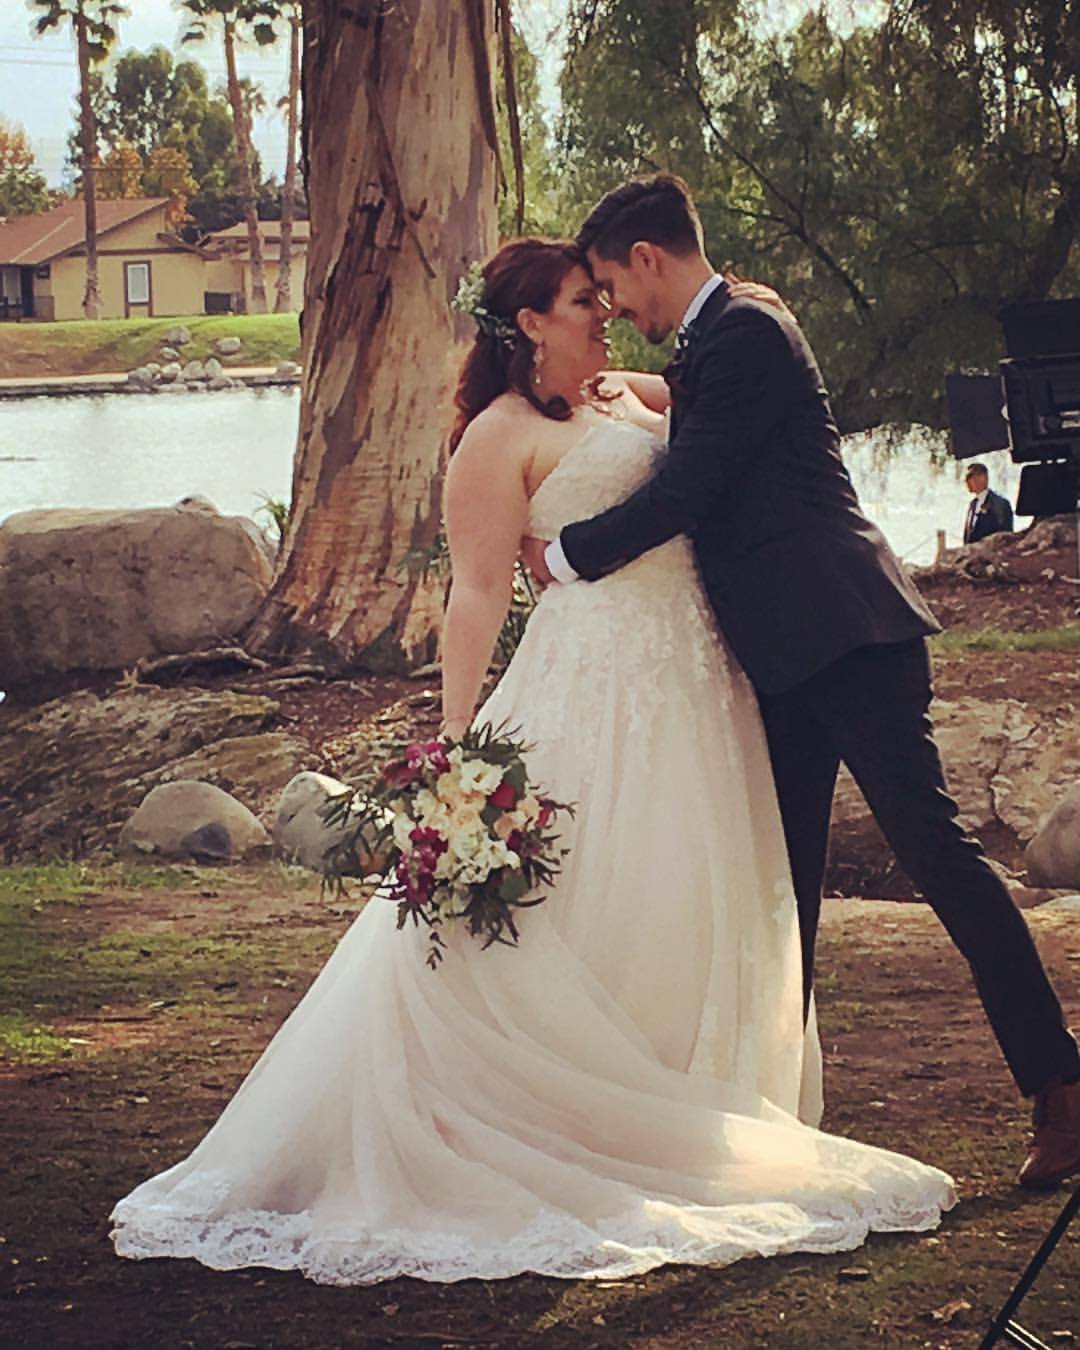
Last year my son got engaged in Hawaii! They are both artiest types and I wanted to possibly knit something for their wedding. I showed Elisha a large list of ideas from Ravelry for her to look through and see if anything caught her eye.
She wanted a knitted lace veil!! I was soooo excited.
After looking at lots of lace shawls she picked "The Cap" shawl from Victorian Lace Today. I actually already had the book!

Now began the search for the yarn. I thought about cashmere because it is so soft and light. I also thought about silk, well who doesn't like silk. I knitted a couple of swatches for her. This shawl started from the center out so I just knit the actual shawl to about 10 inches in diameter. I made a swatch from lace weight cashmere (I don't remember there brand of the cashmere) and one from 100% silk luminance from knitpicks. There really was no contest between the two. The silk was stunning.
Lessons Knitting Lace with White Silk
The big lesson the white was picking up
black from my cloths!!!!
I knitted for a while and then noticed that the fabric looked dirty. I took it out and made sure I washed my hands before knitting. I had a few inches knitted again a was seeing black again! What is happening?
I realized that it was picking up the color from my cloths, I wear a lot of black.
For a while I knitted with a white towel in my lap and was very careful. That solved it.
After I got past the "yo/knit 2 together" section, I started making mistakes and not catching them for several rows. After too many "frog pond" episodes that took up most of a day, I found that I had to knit at my white desk. Sitting up, counting, and focusing, that is what was going to get me through this.
I binged watch a lot of shows on my computer and did a lot of counting. There where still about 3 or 4 major ripping out episodes. As I got to the outer edge of the circle there where A LOT of stitches per row. I had put in life lines and lots of markers. I was too chicken to use them so I unknitted to fix my mistakes. That took about 3-4 hours to take out and knit back.
Be Forewarned!!
The Border Takes FOREVER!!
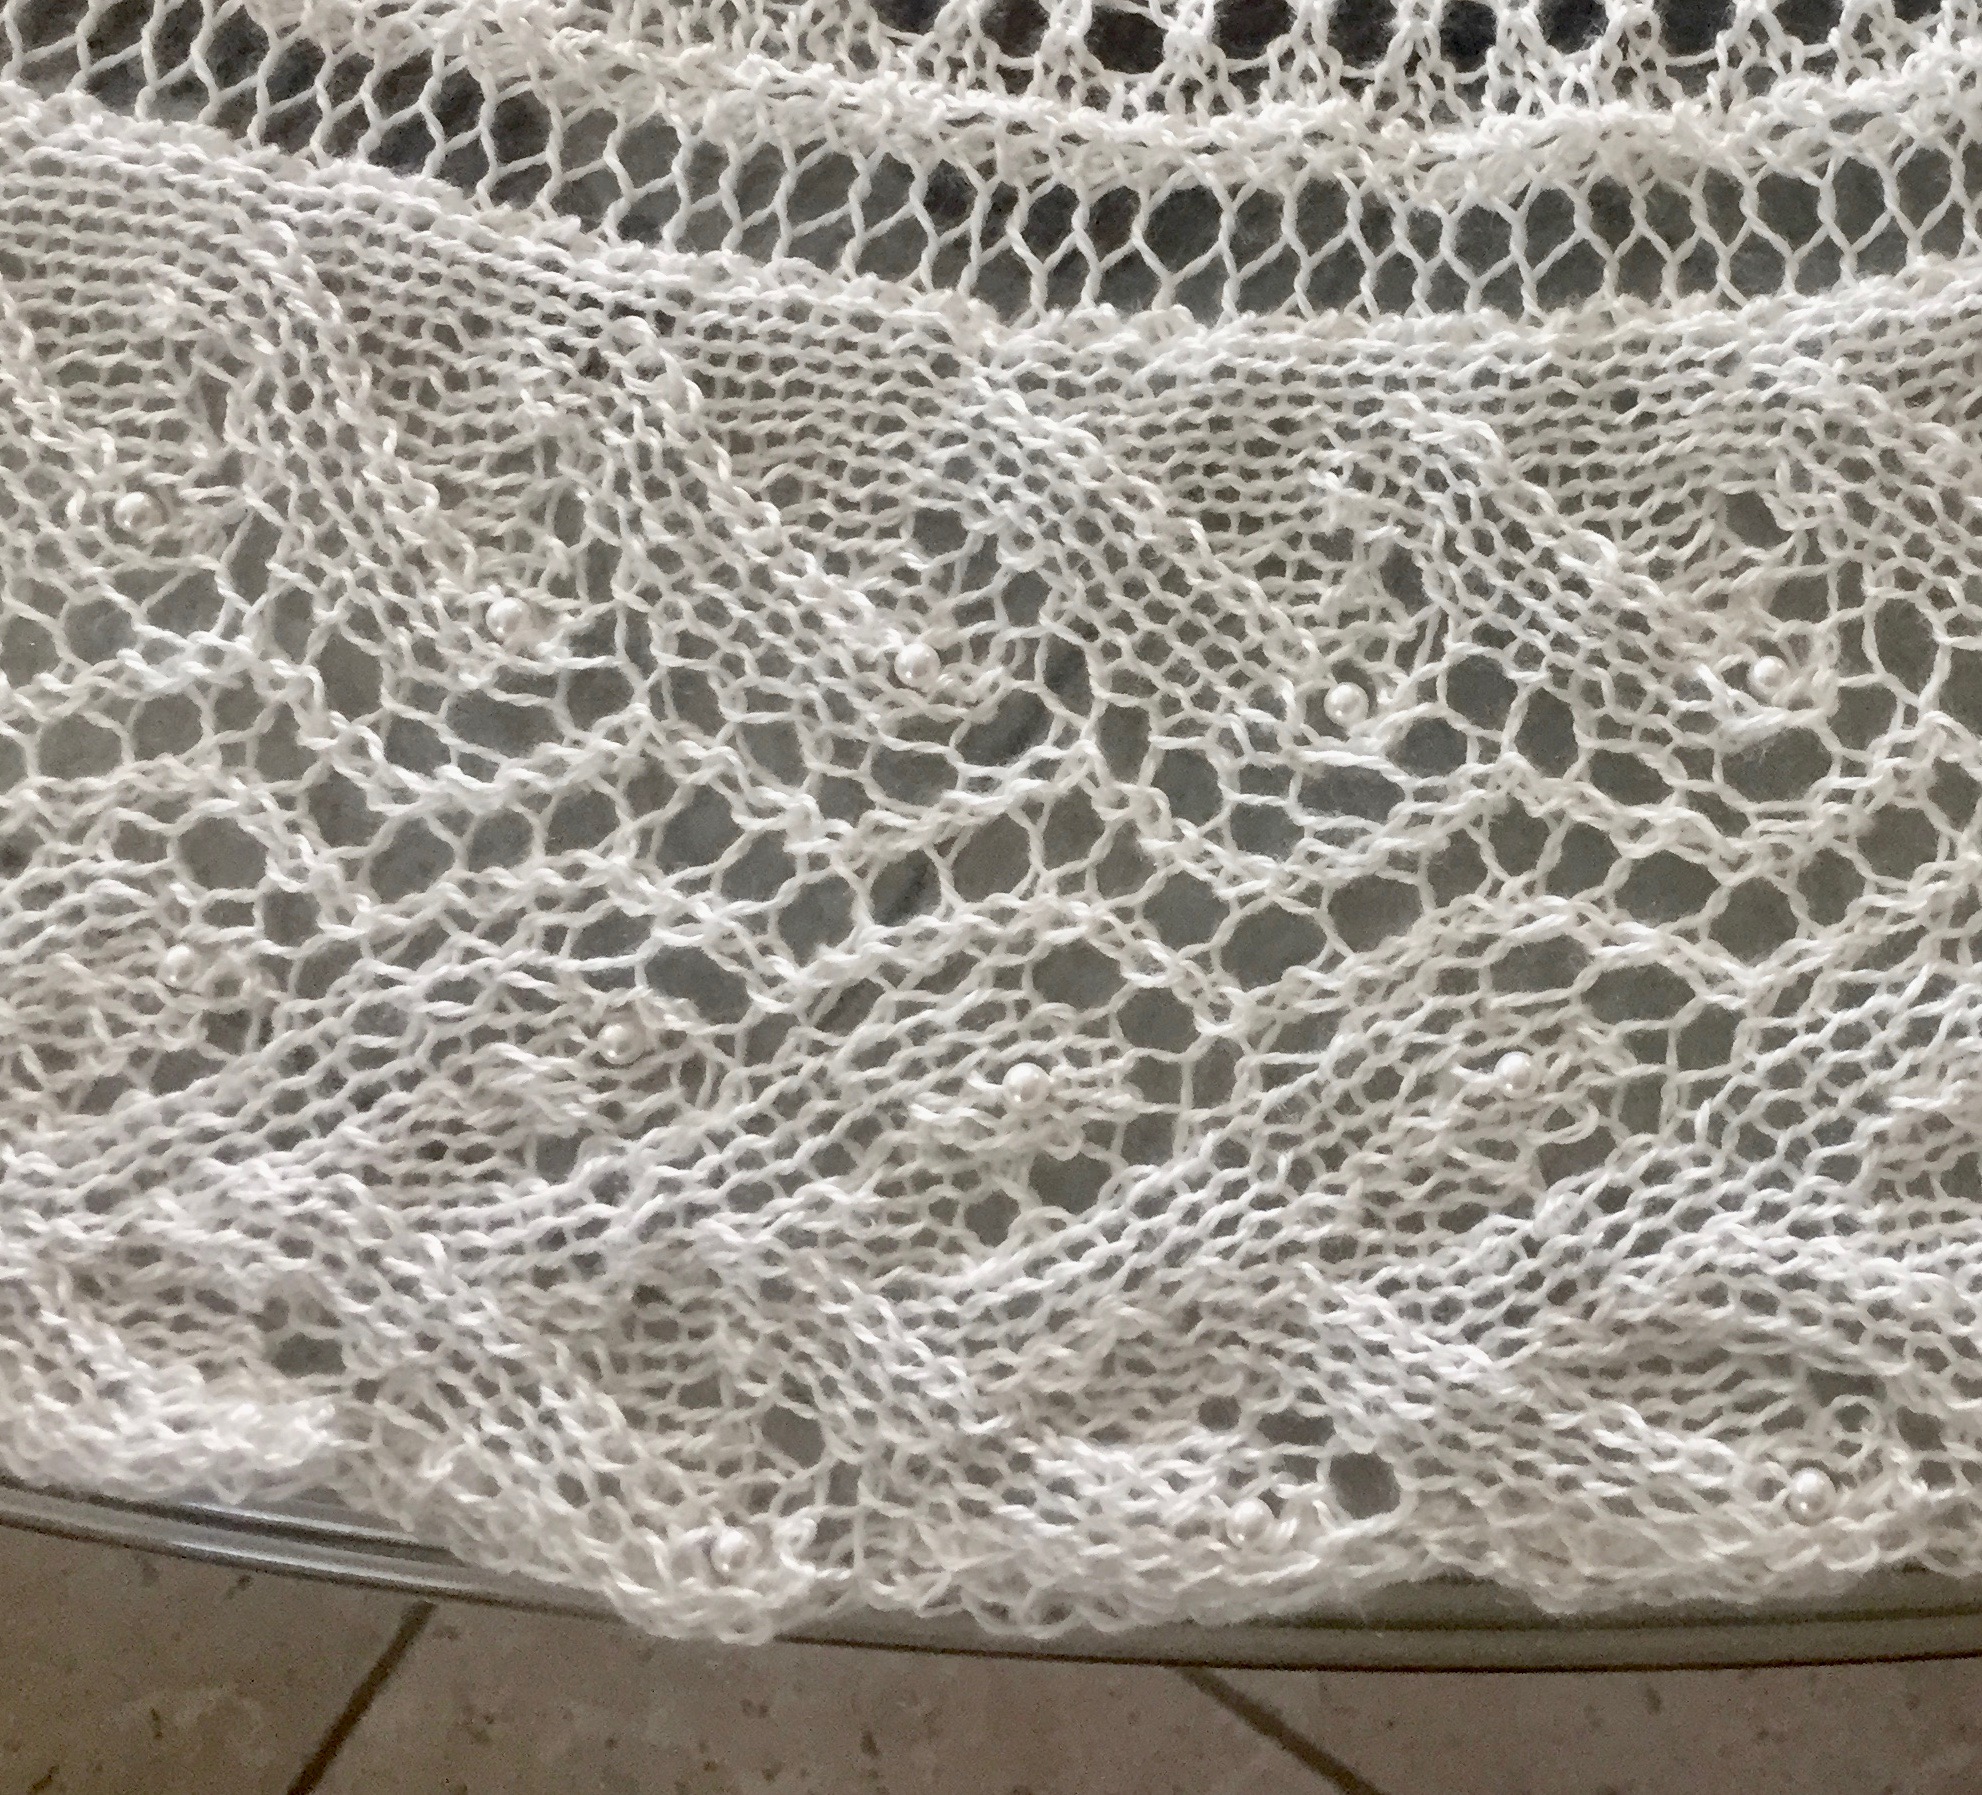
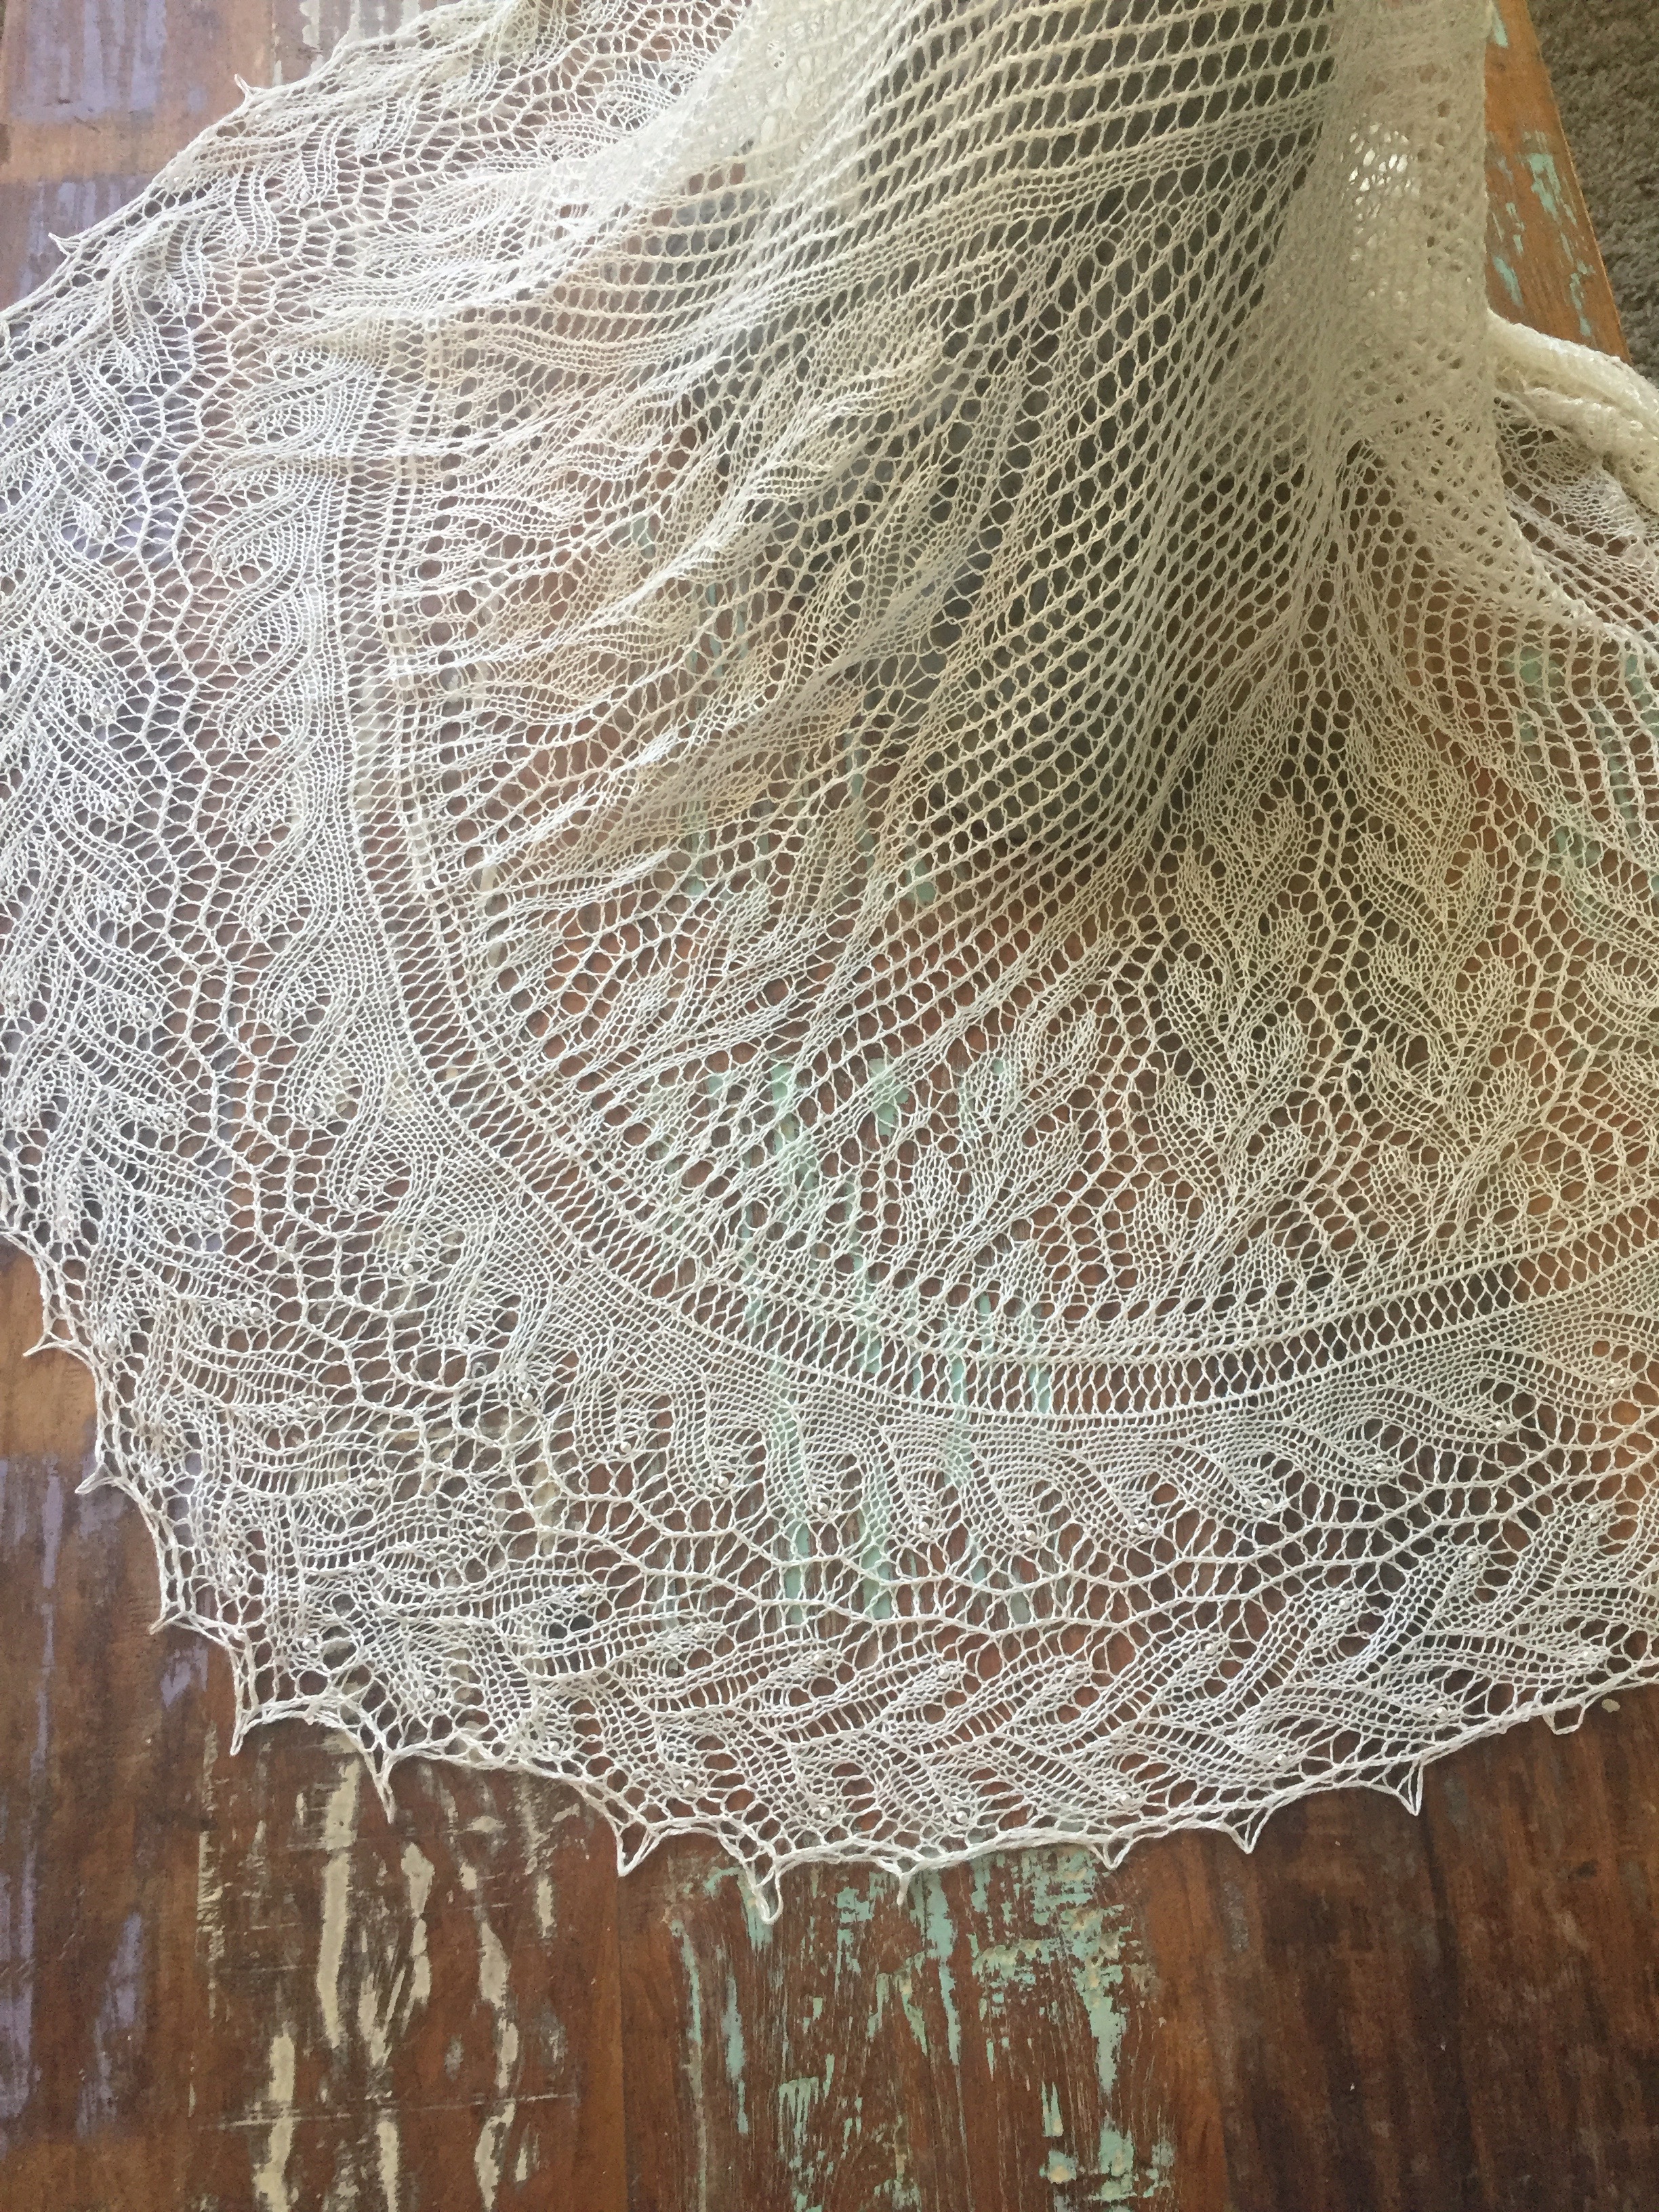
The broader was knitted on. I used a different border (Perfect Leaf Lace) from the pattern. Several people had used on Ravelry and it matched the leaf in the center perfectly. This boarder is a bit wider then the original.
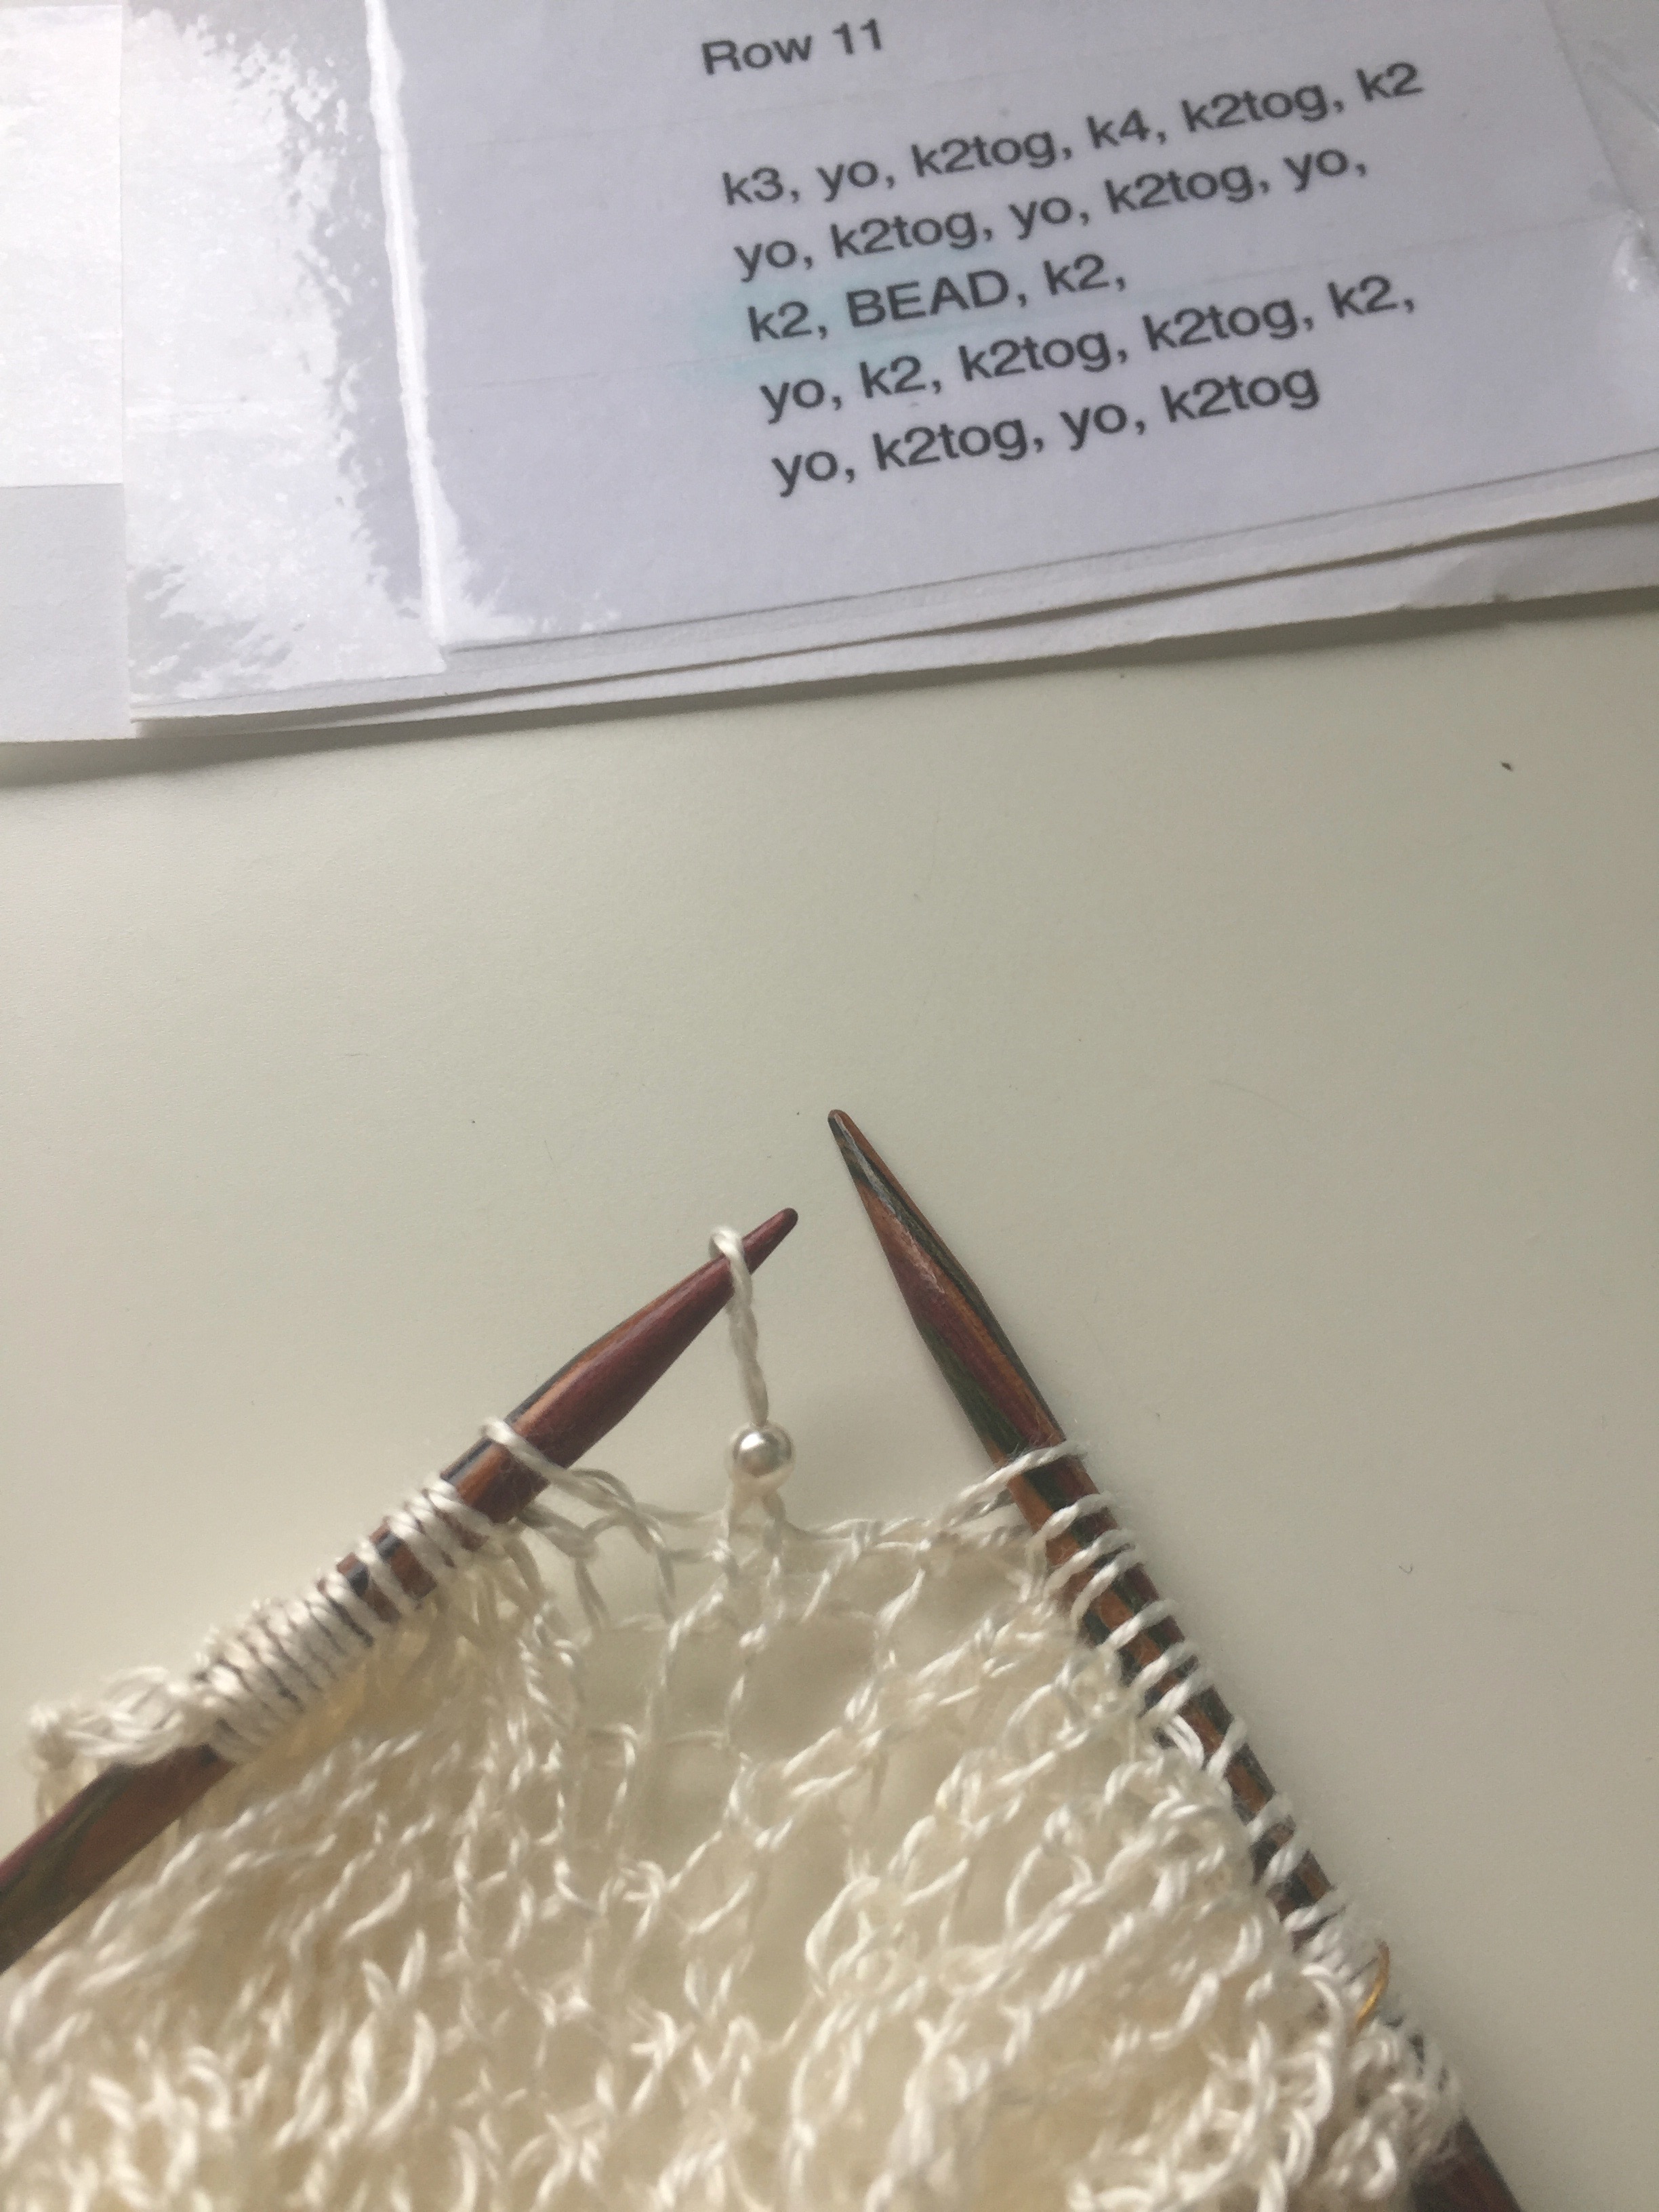
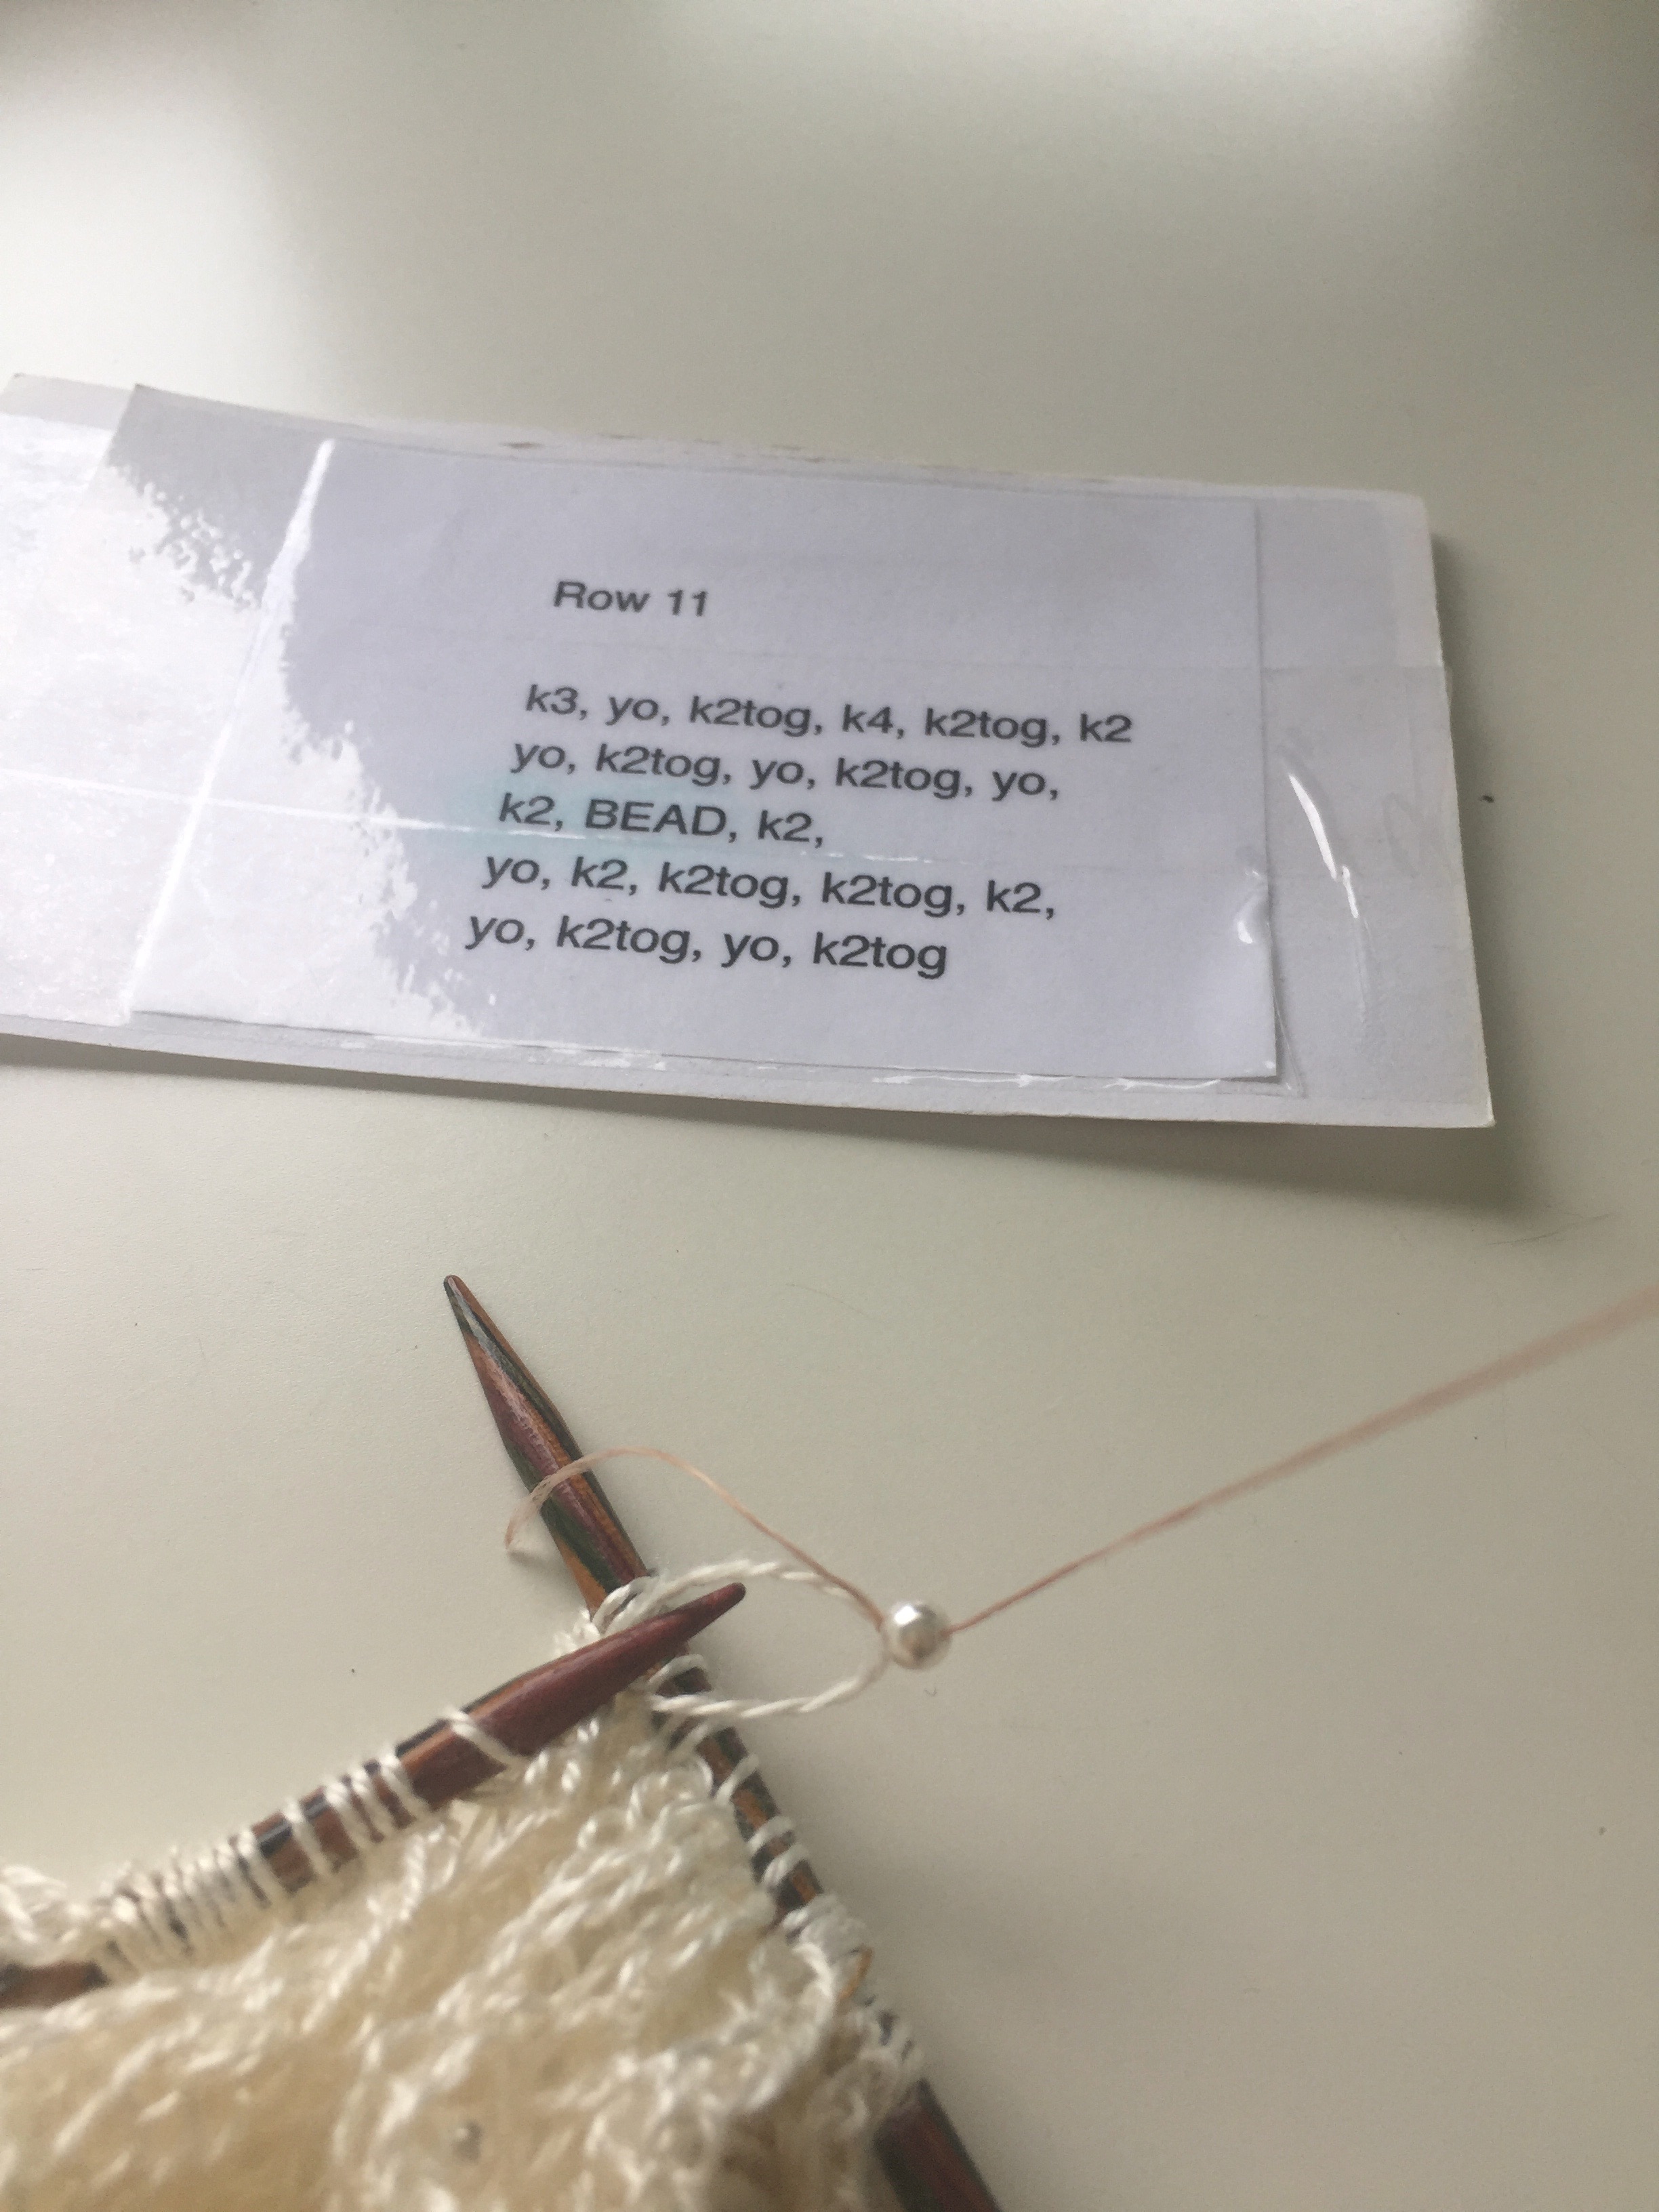
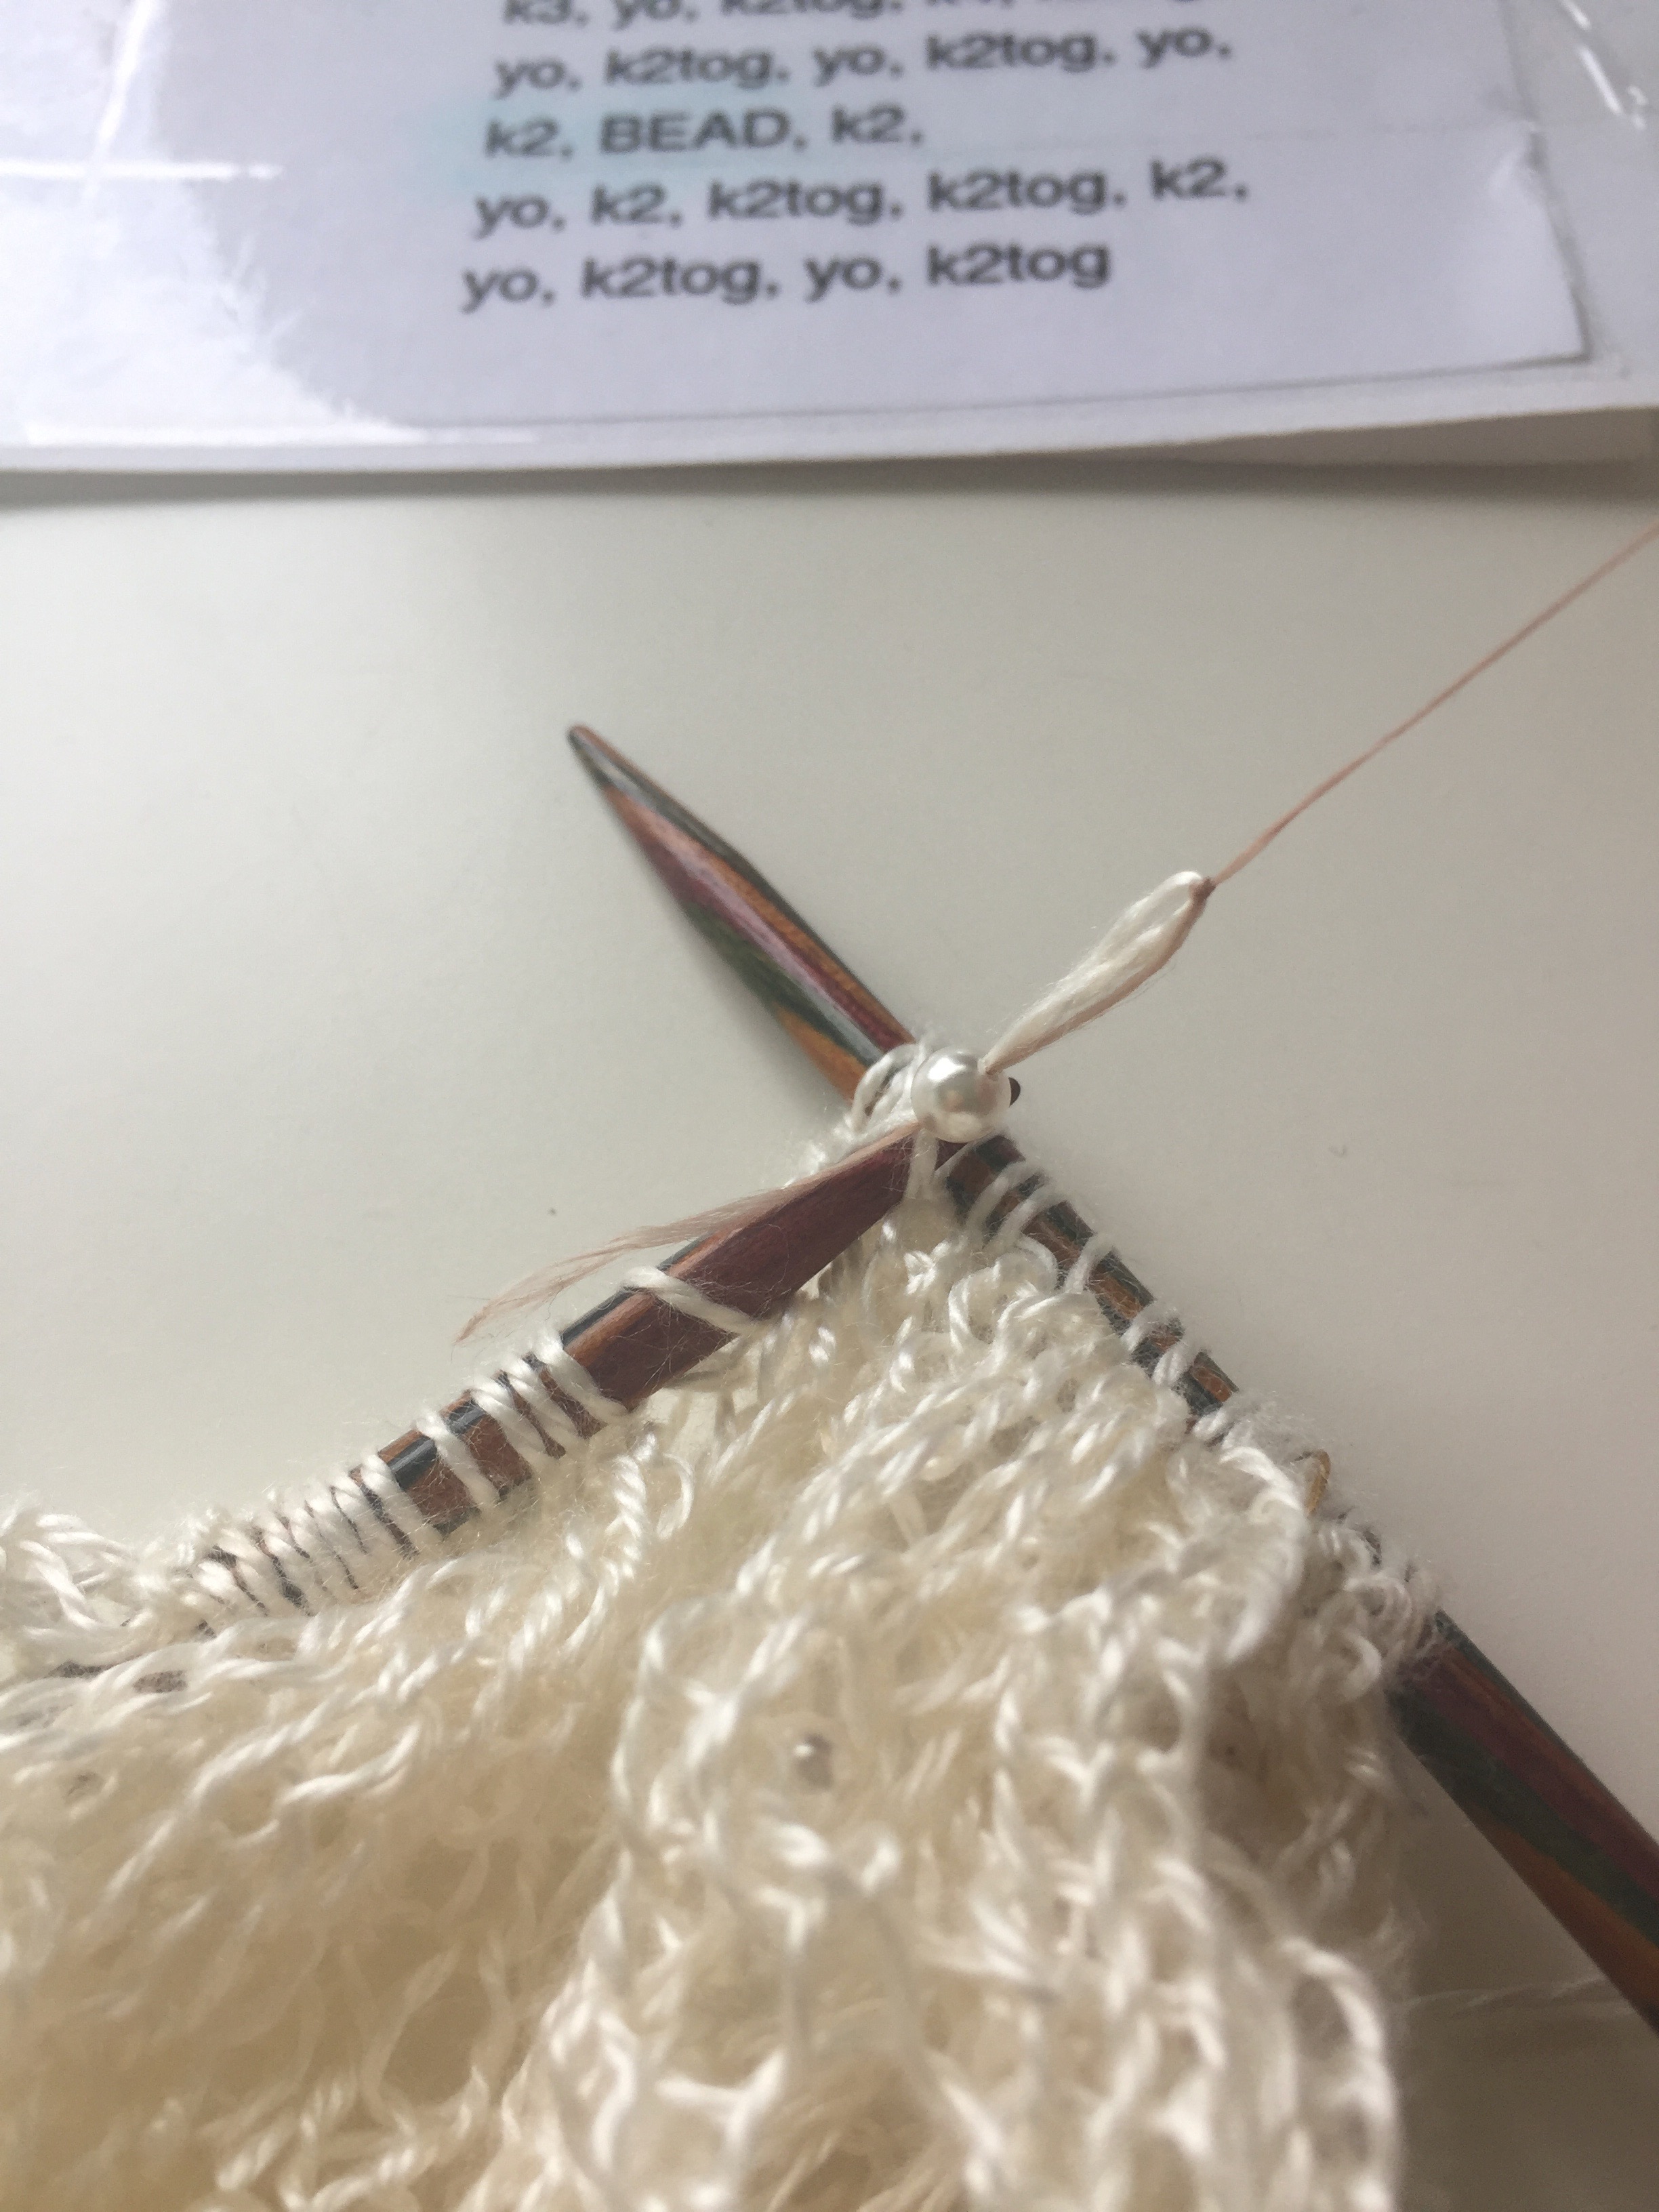
I also added swarovski pearl beads to the border. Normally, I would use a crochet hook to slip the end onto a stitch. Turns out that the hole in the bead was so small that the crochet hook I had to use kept splitting the yarn. The solution was to you needle and thread to slip the bead on which was tedious.

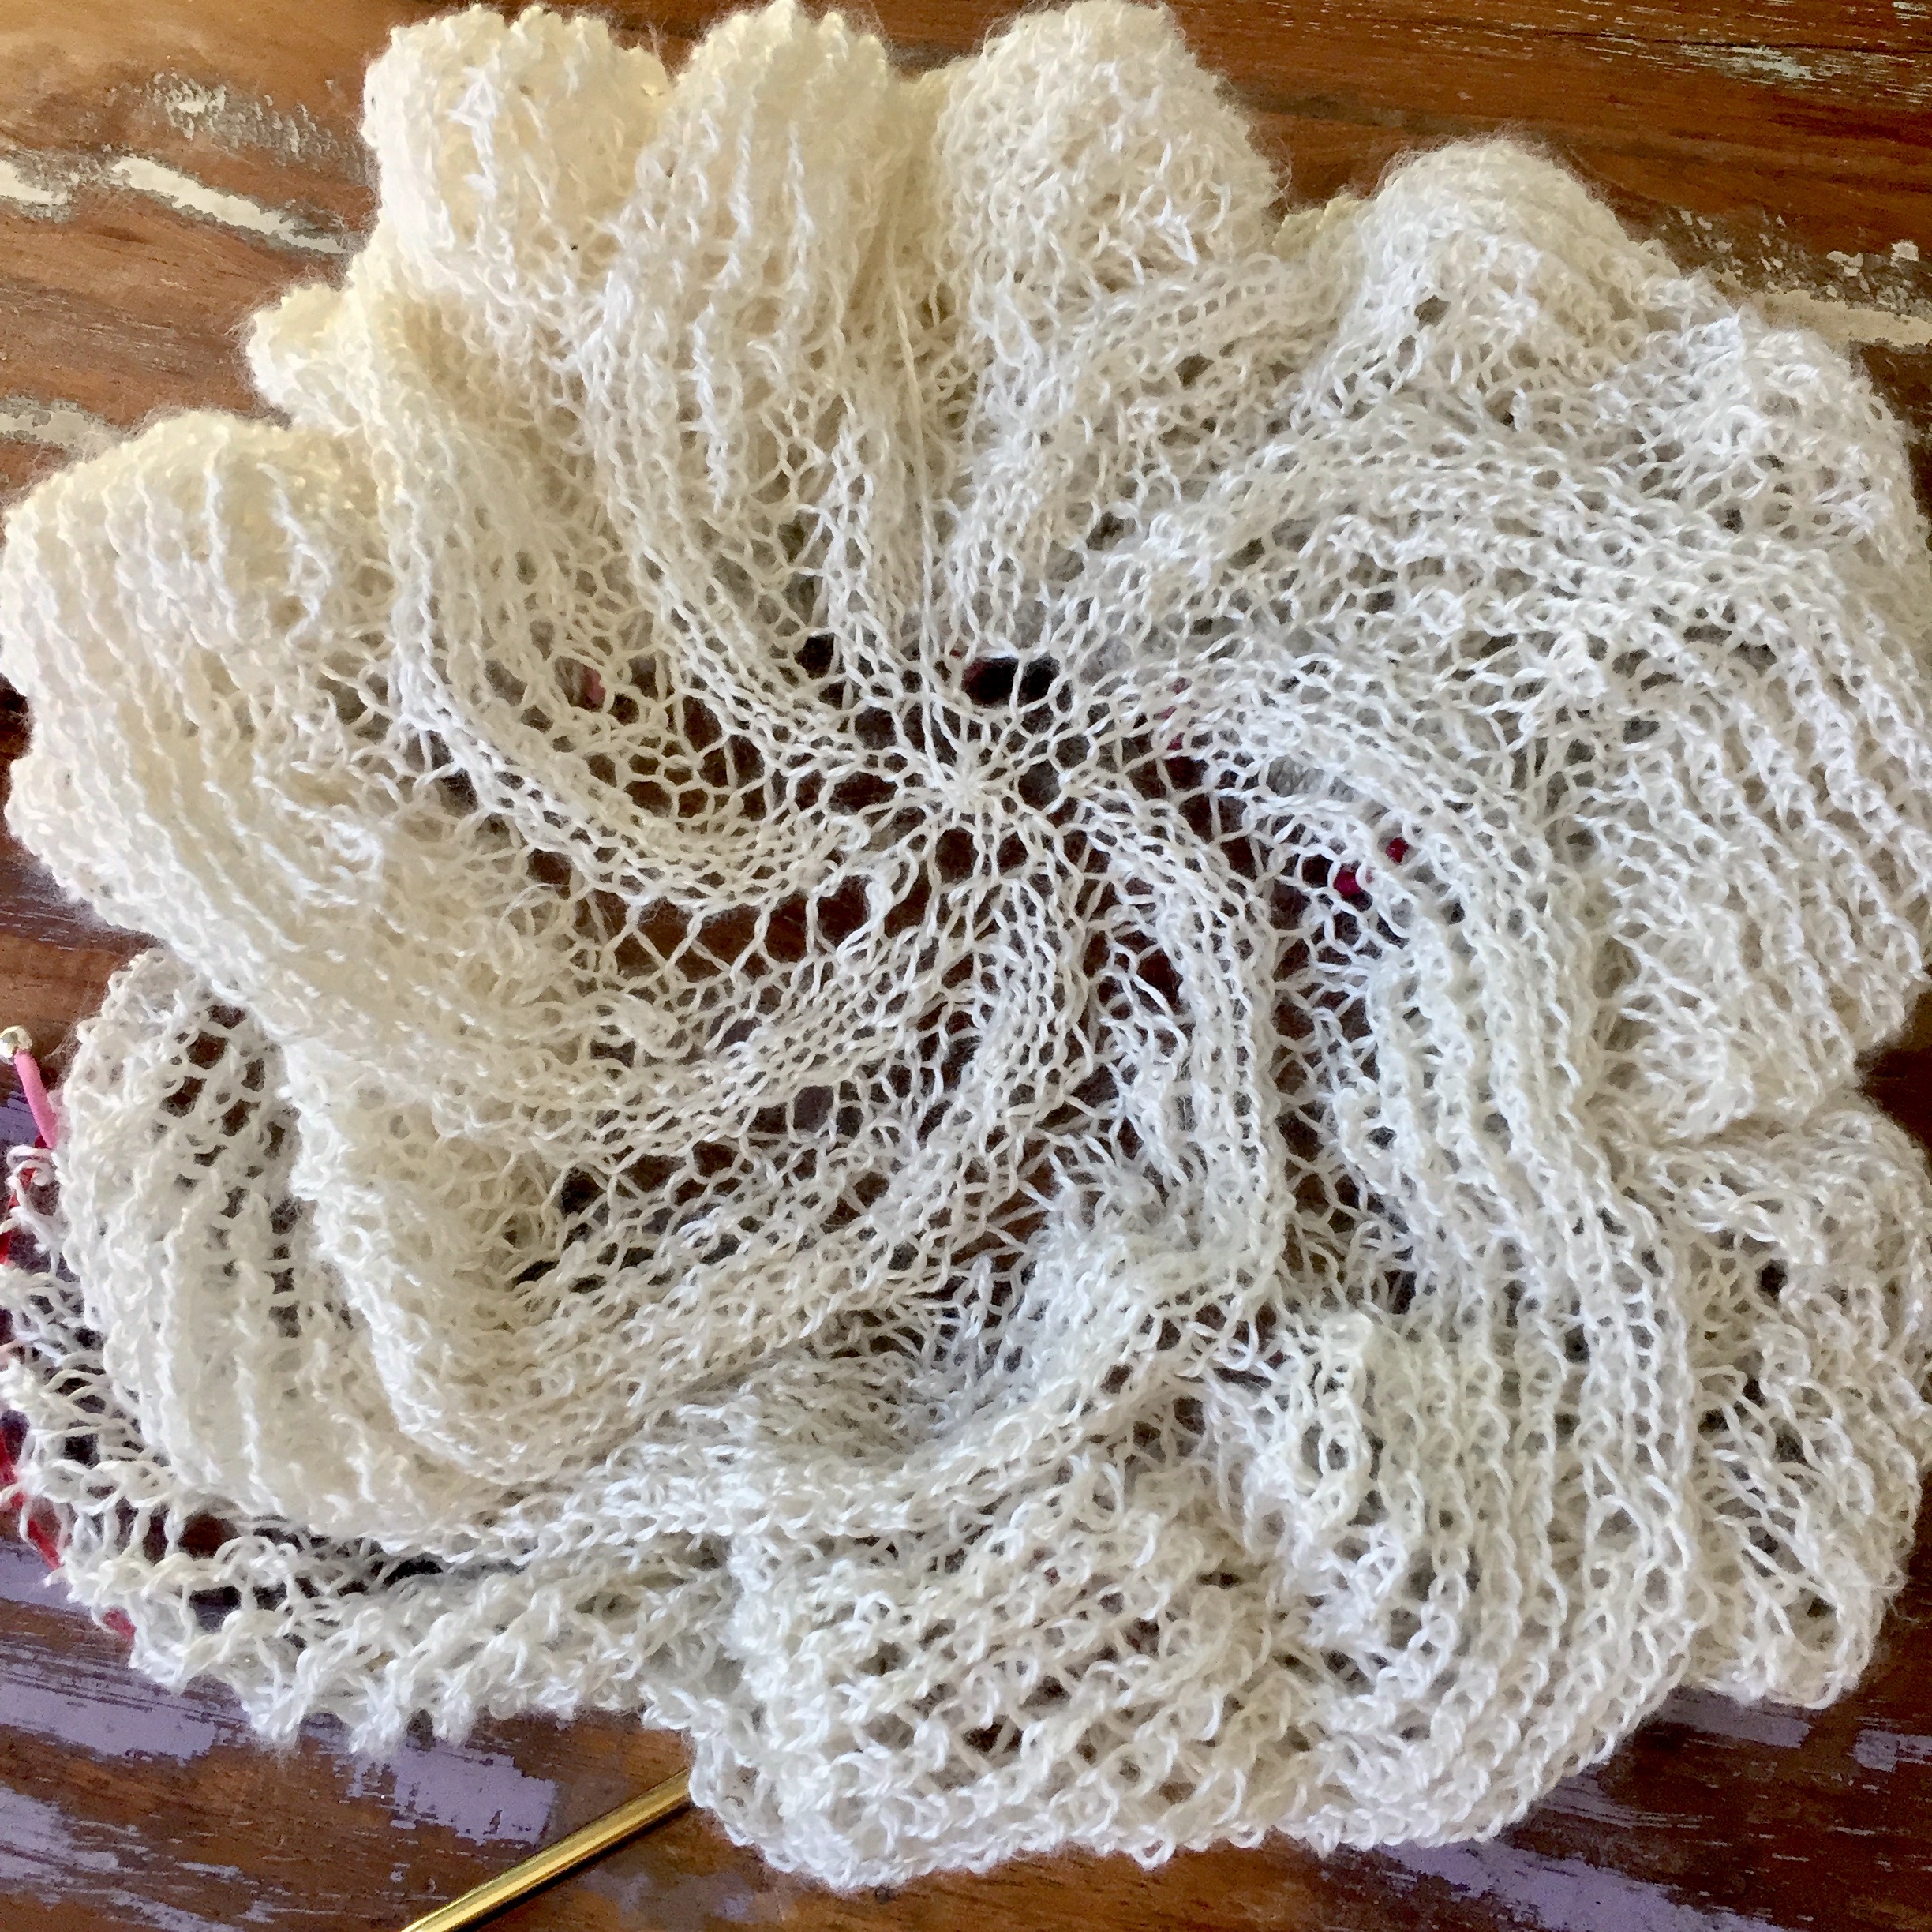
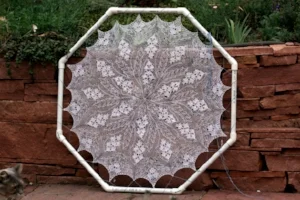
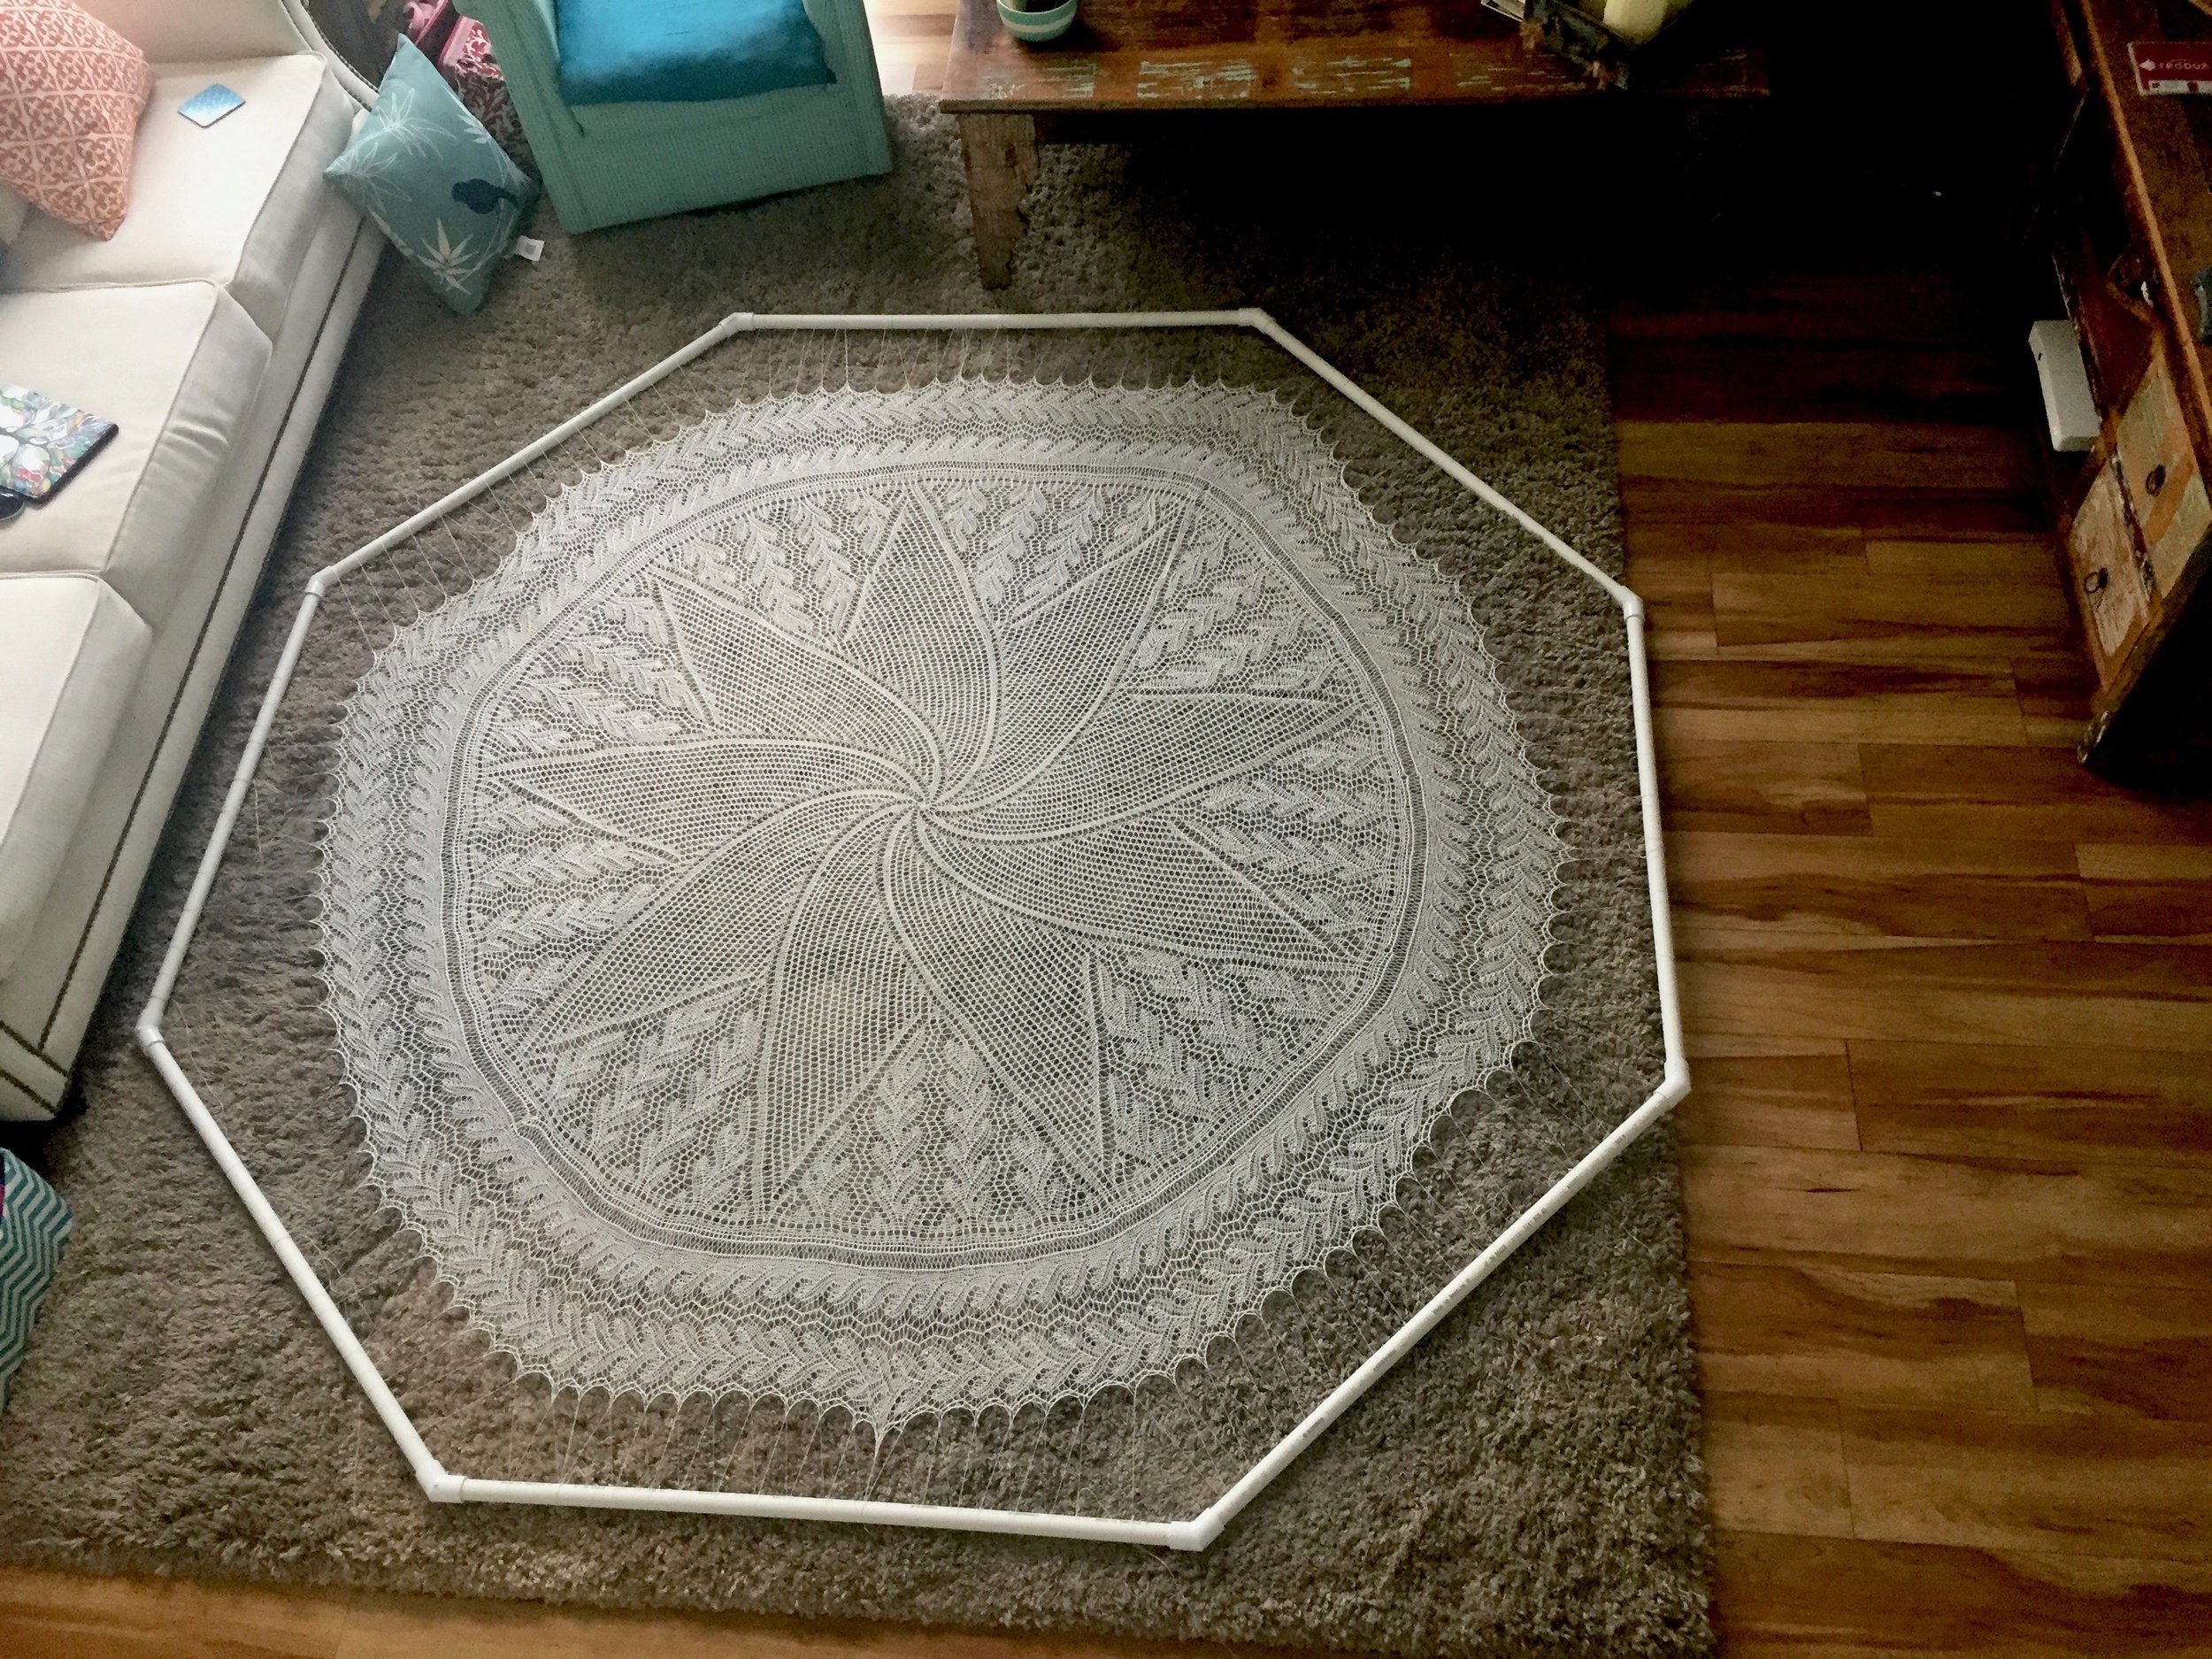
As you can see here I am almost done. Just a bit more on the boarder to go. This was the first time I had laid it all out. I was soooooo nervous!!!!! It was the moment of truth rather or not there was some glaring mistake that I hadn't seen yet. Thankfully there wasn't one!!!!!!
Fun Facts
There is a great for this pattern that someone did which is how I got a lot of my numbers.
1476 stitches in outside row of center section
Total center has 68,616 stitches
35 stitch per row, 12 row repeat for the border. Live stitches from the center are joined in every other row, and 3 beads added in each of the 12 row repeats. It took me about 25 min to knit one full 12 row repeat.
I knitted 246 repeats of the boarder pattern
Total stitches 174,888
Total time including time for corrections, blocking, adding comb 220 hours
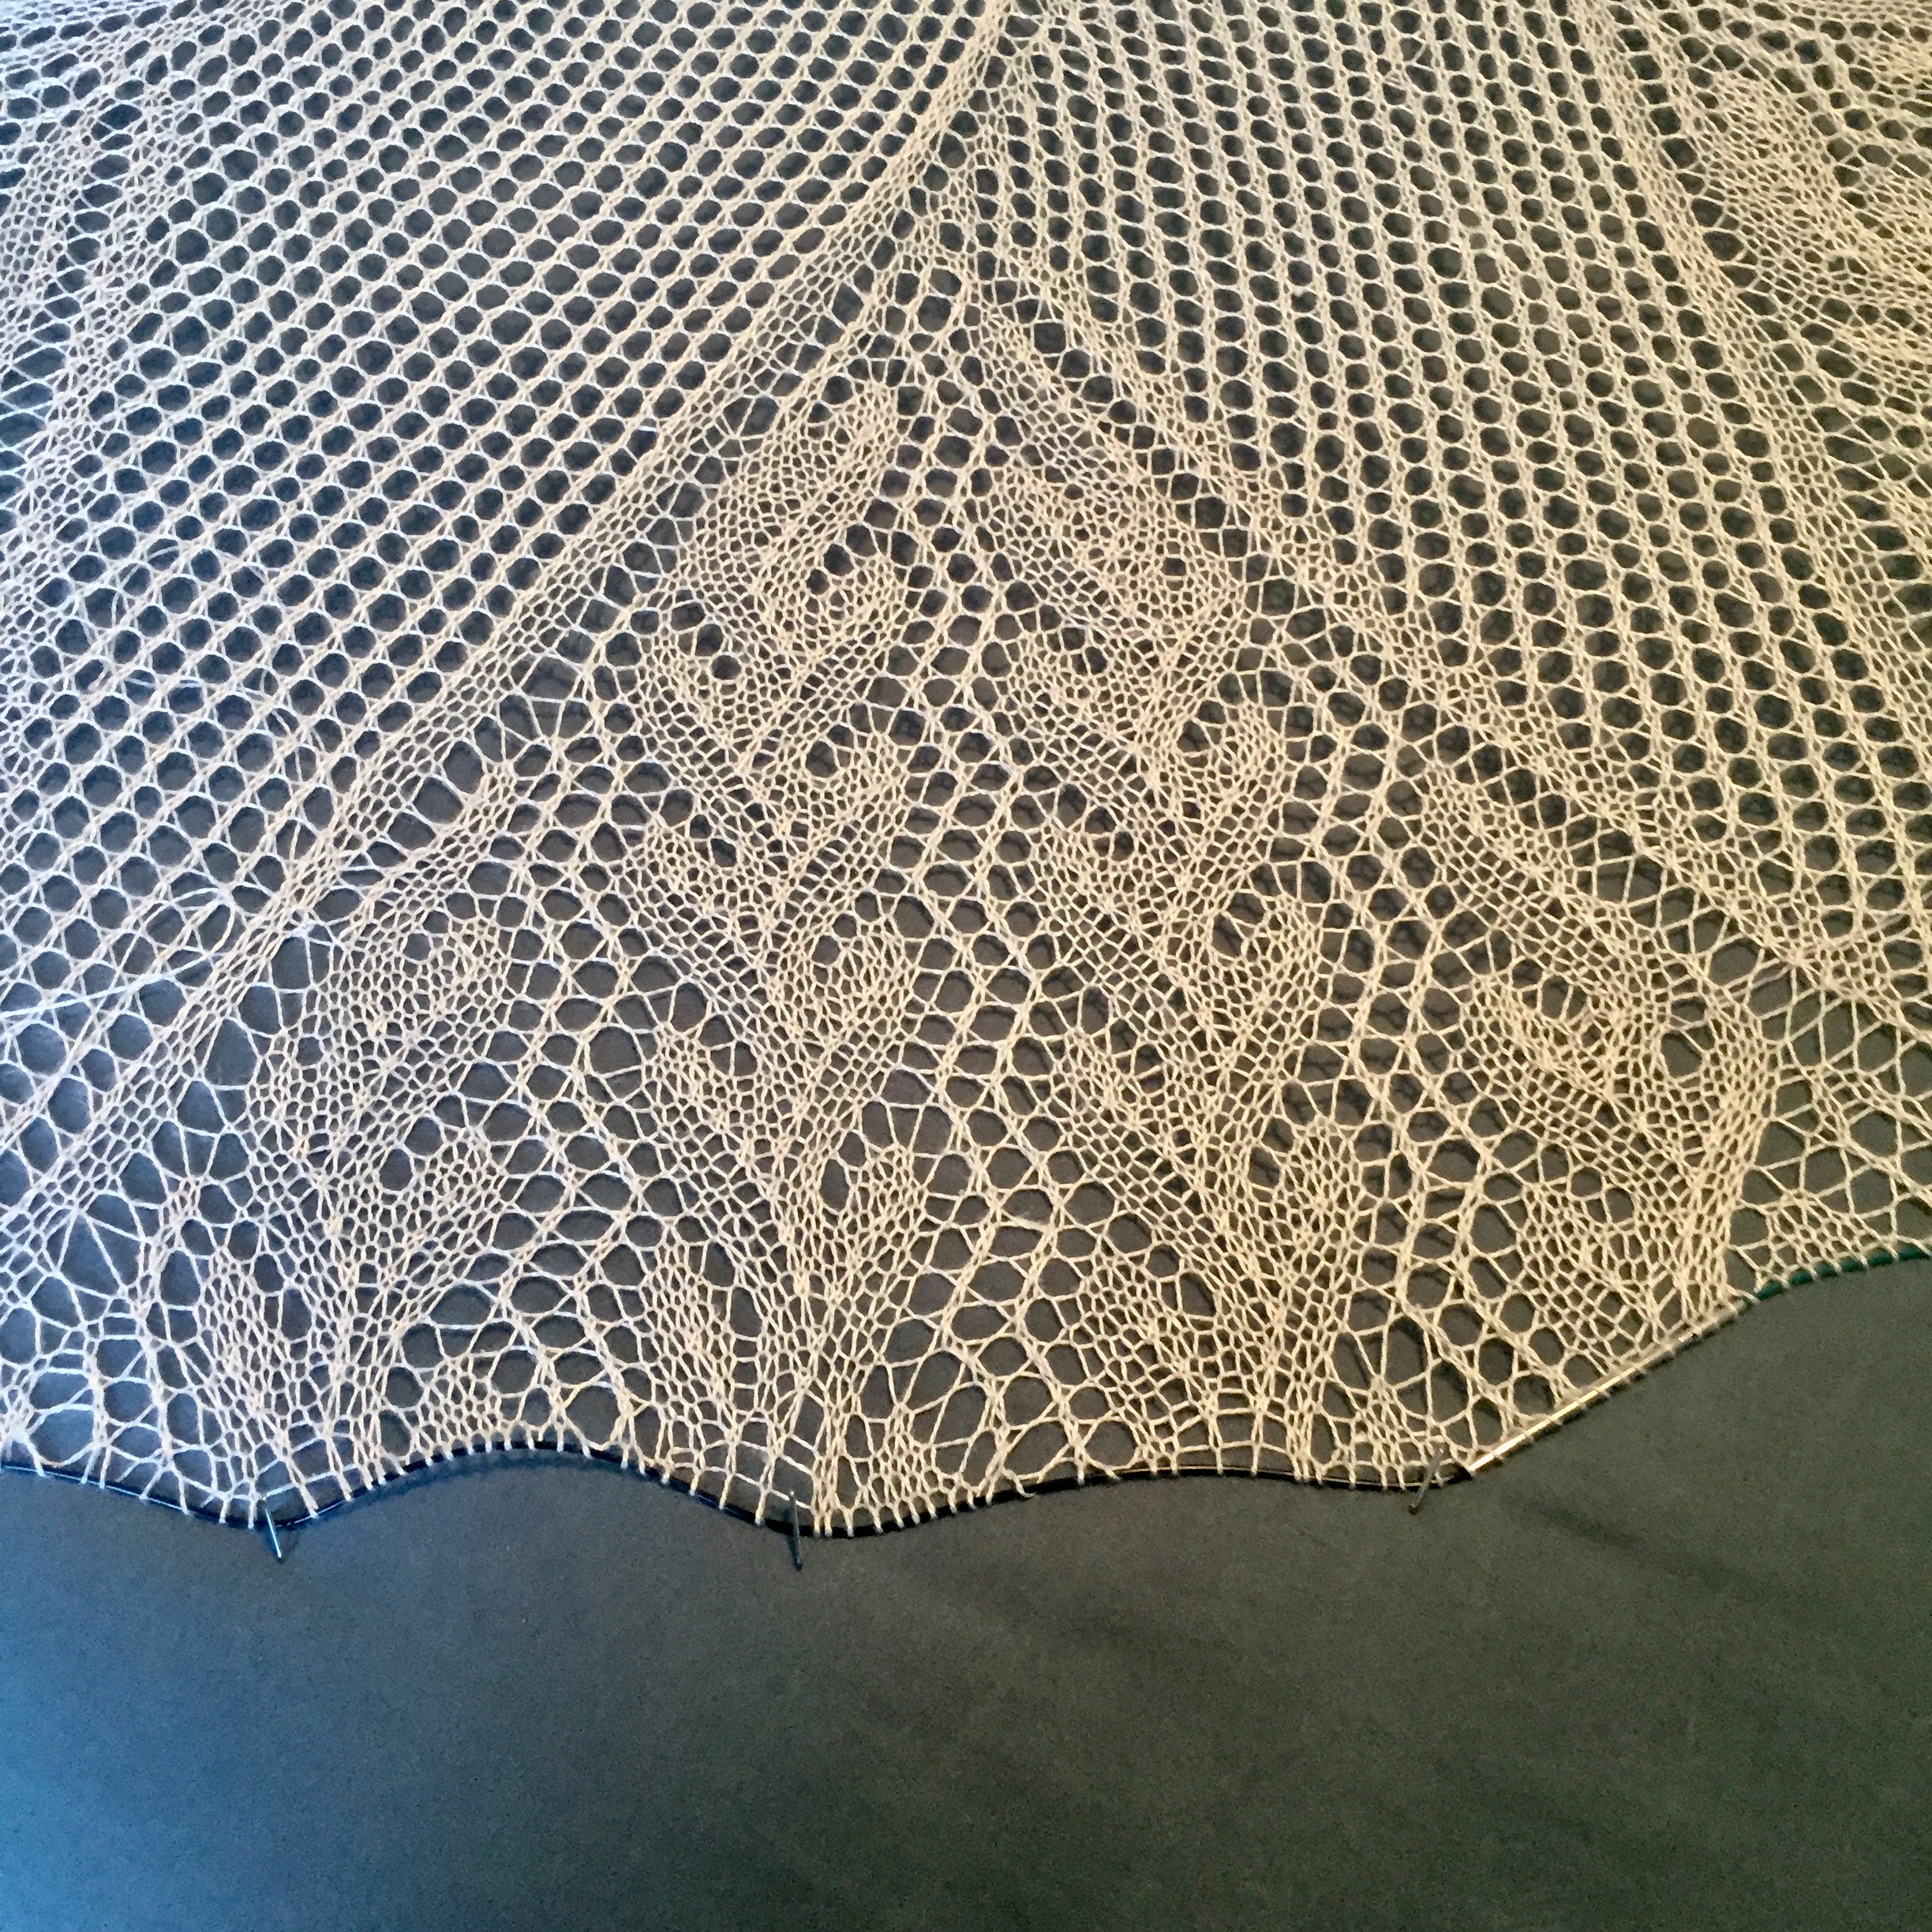
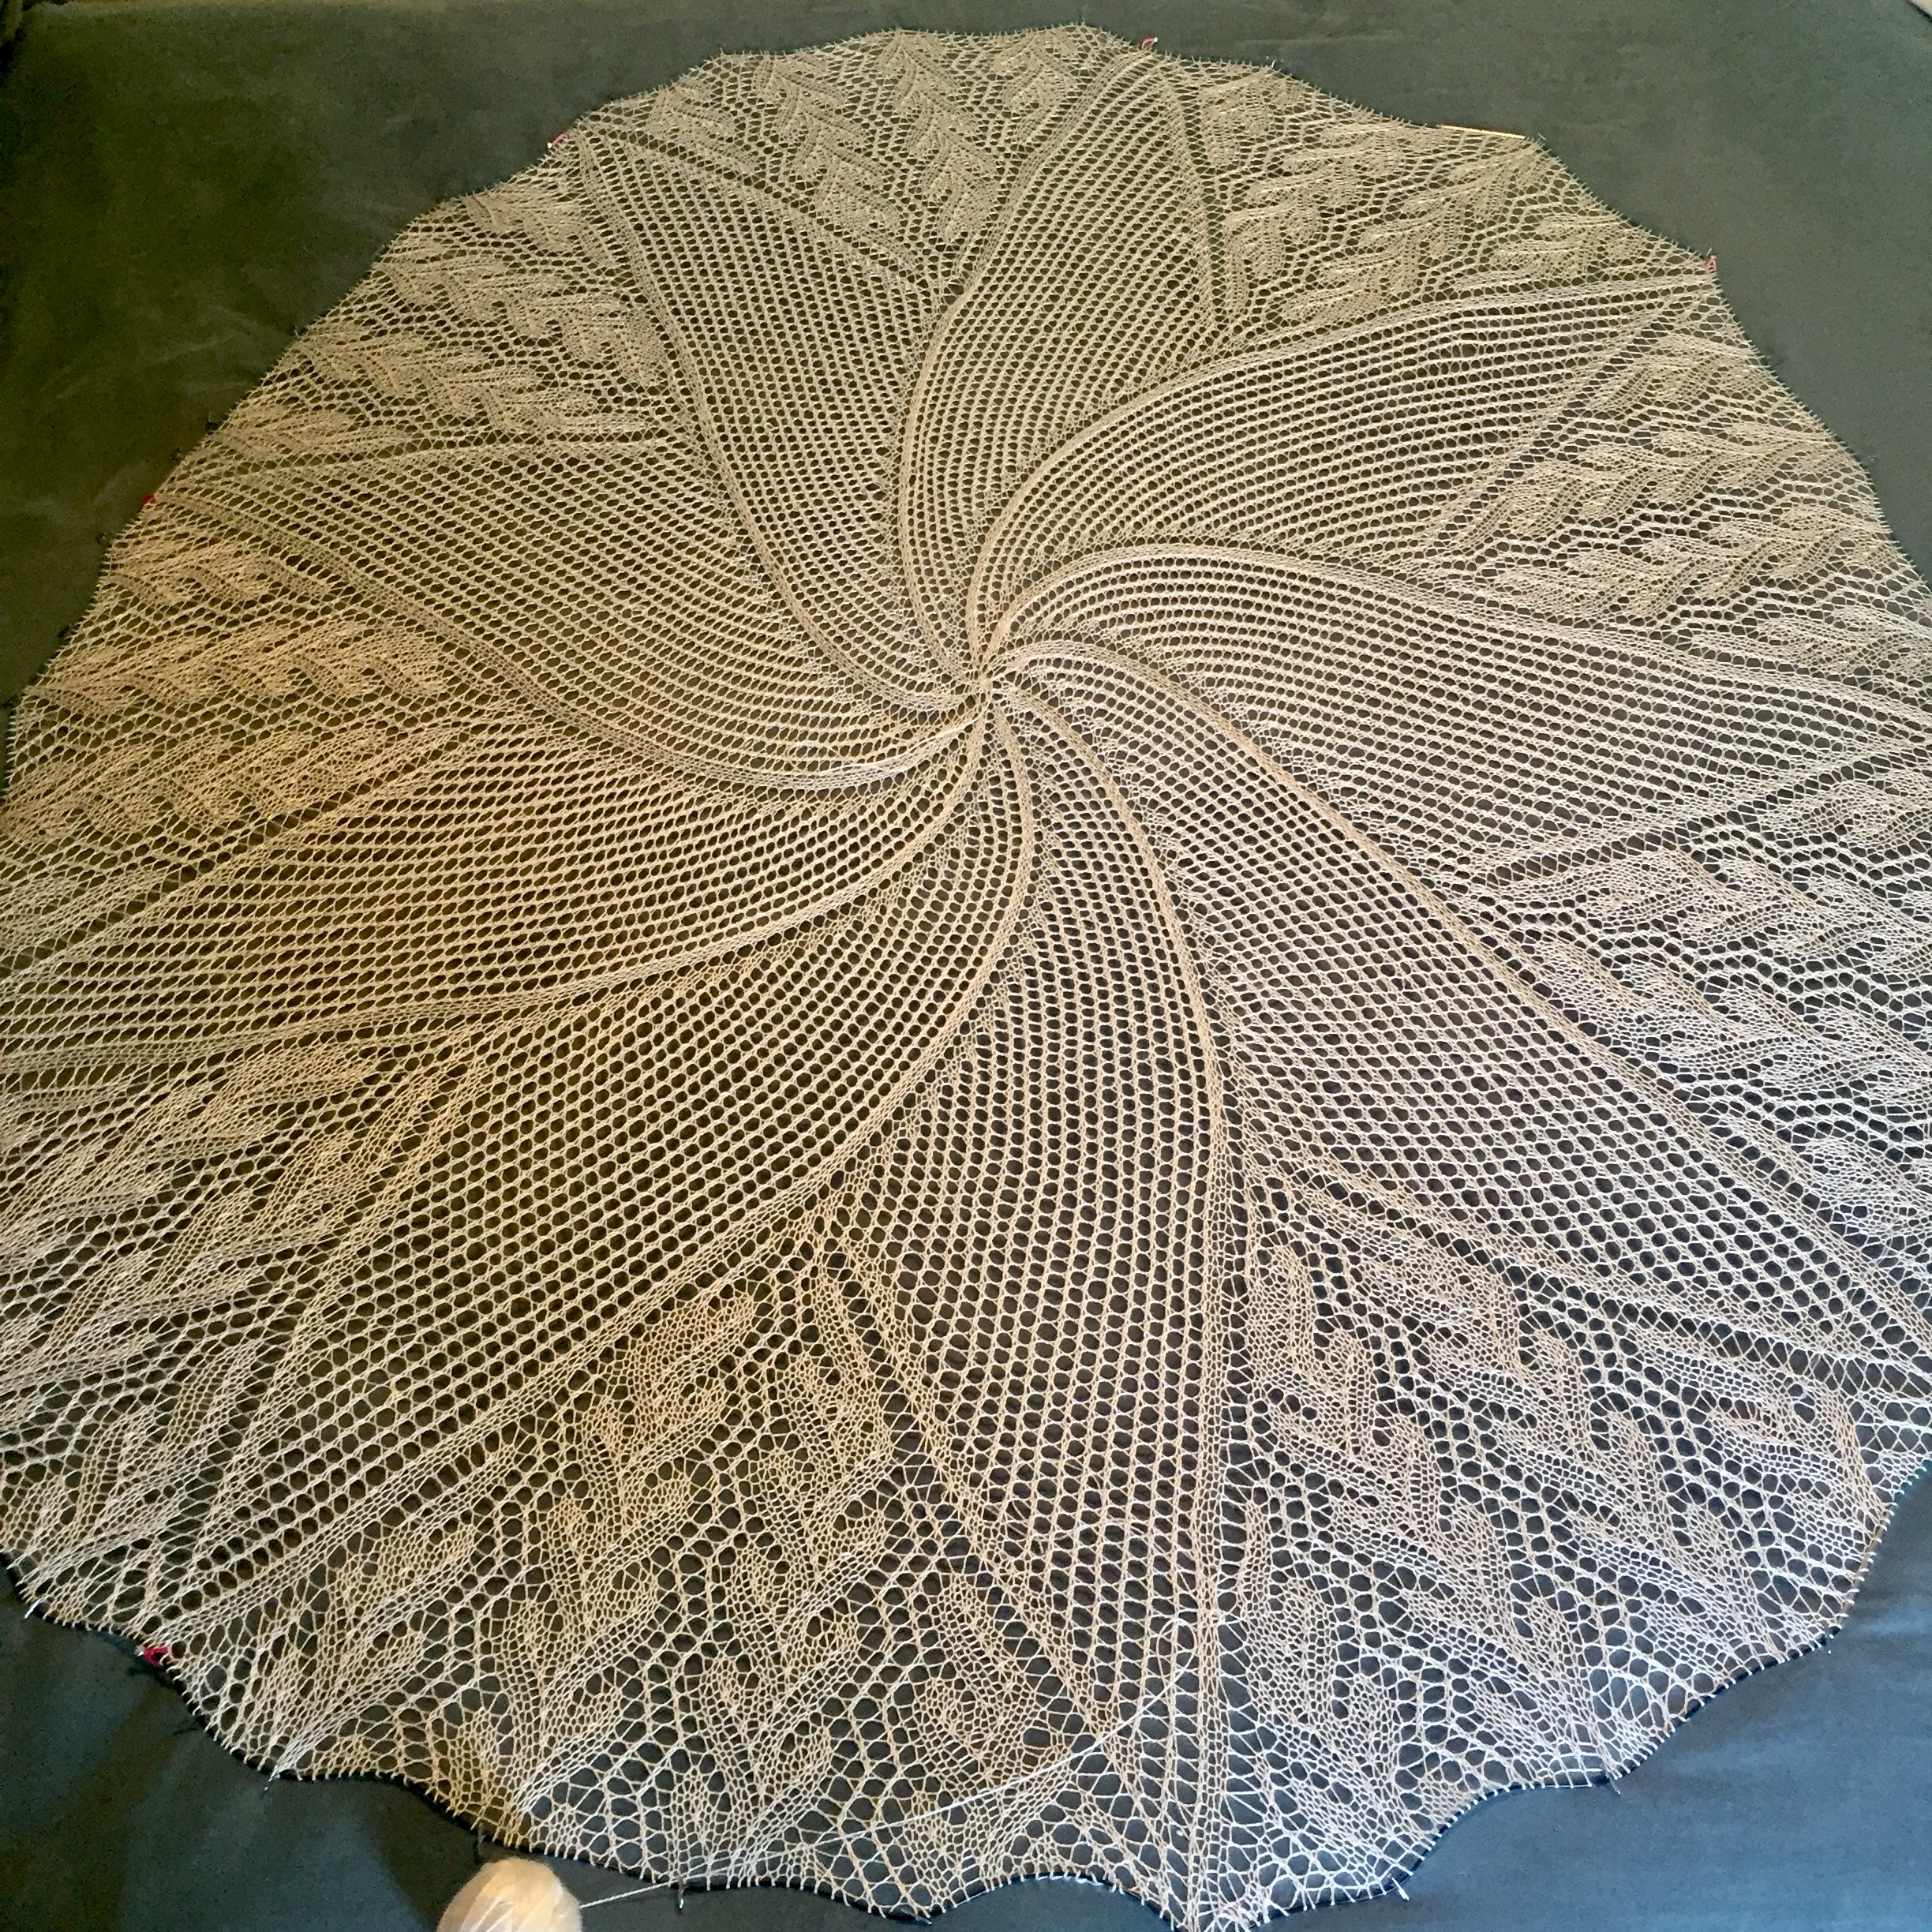
Blocking a Very Large Circle!
This was another part of the process I was a bit nervous about. I spent some time researching how to block something this big, it was 7 ft in circumstance.
So I enlisted my other son to help me build this monster and sew it on. The thing was bigger then my sliding glass doors!!! Thanks Josh!

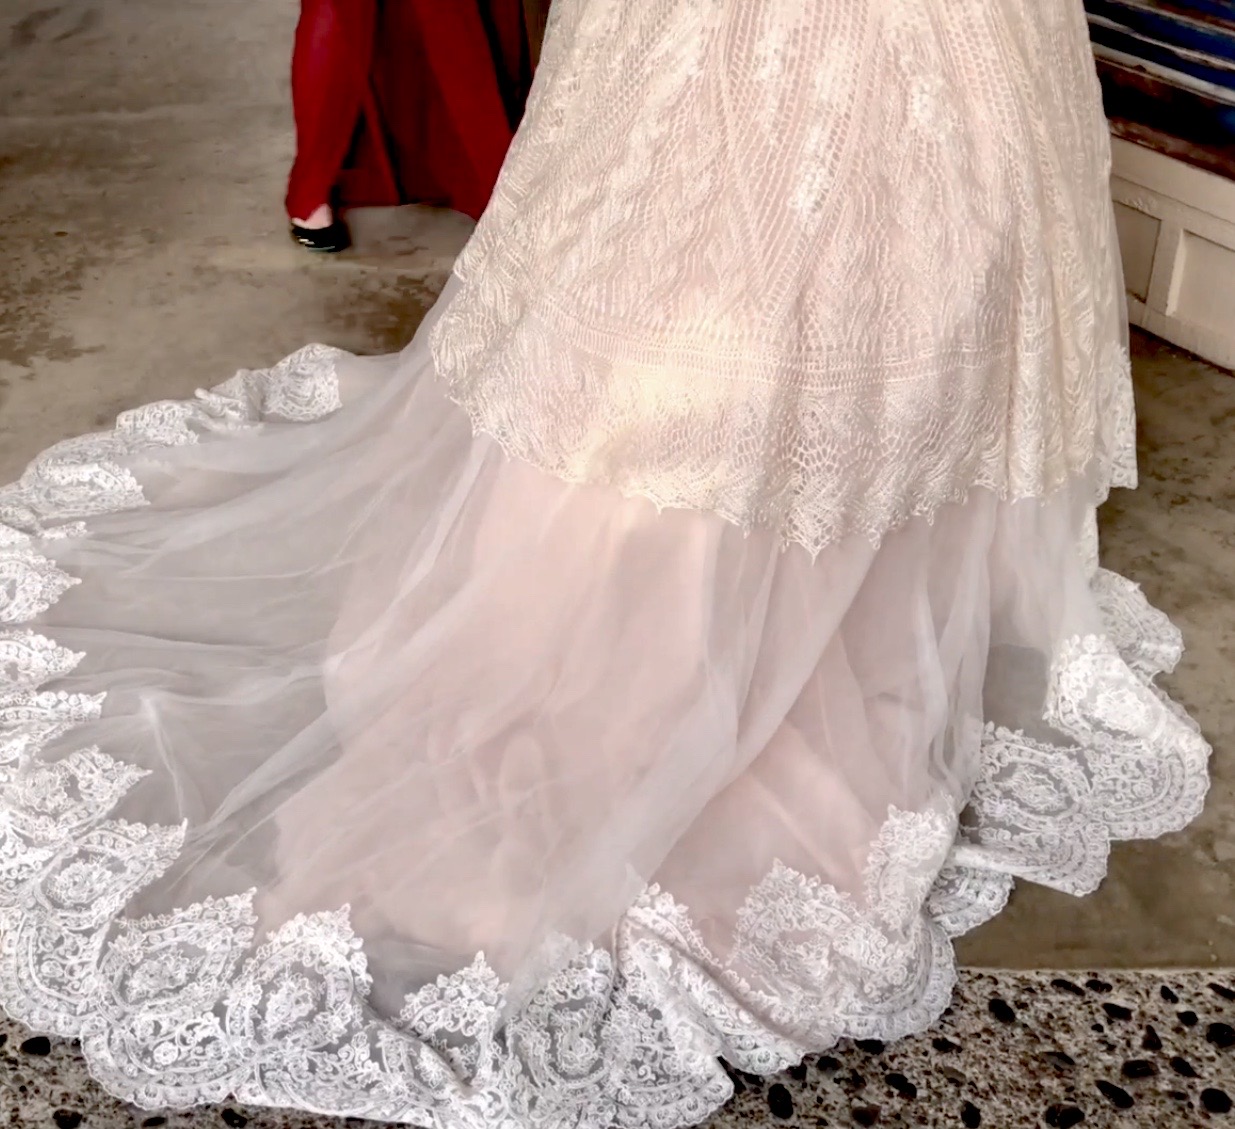
How is She Going to Wear It??
It is completely done and my oh my is it amazing.
The next hurdle is how she was going to wear it and how I was going to attach a comb if needed.
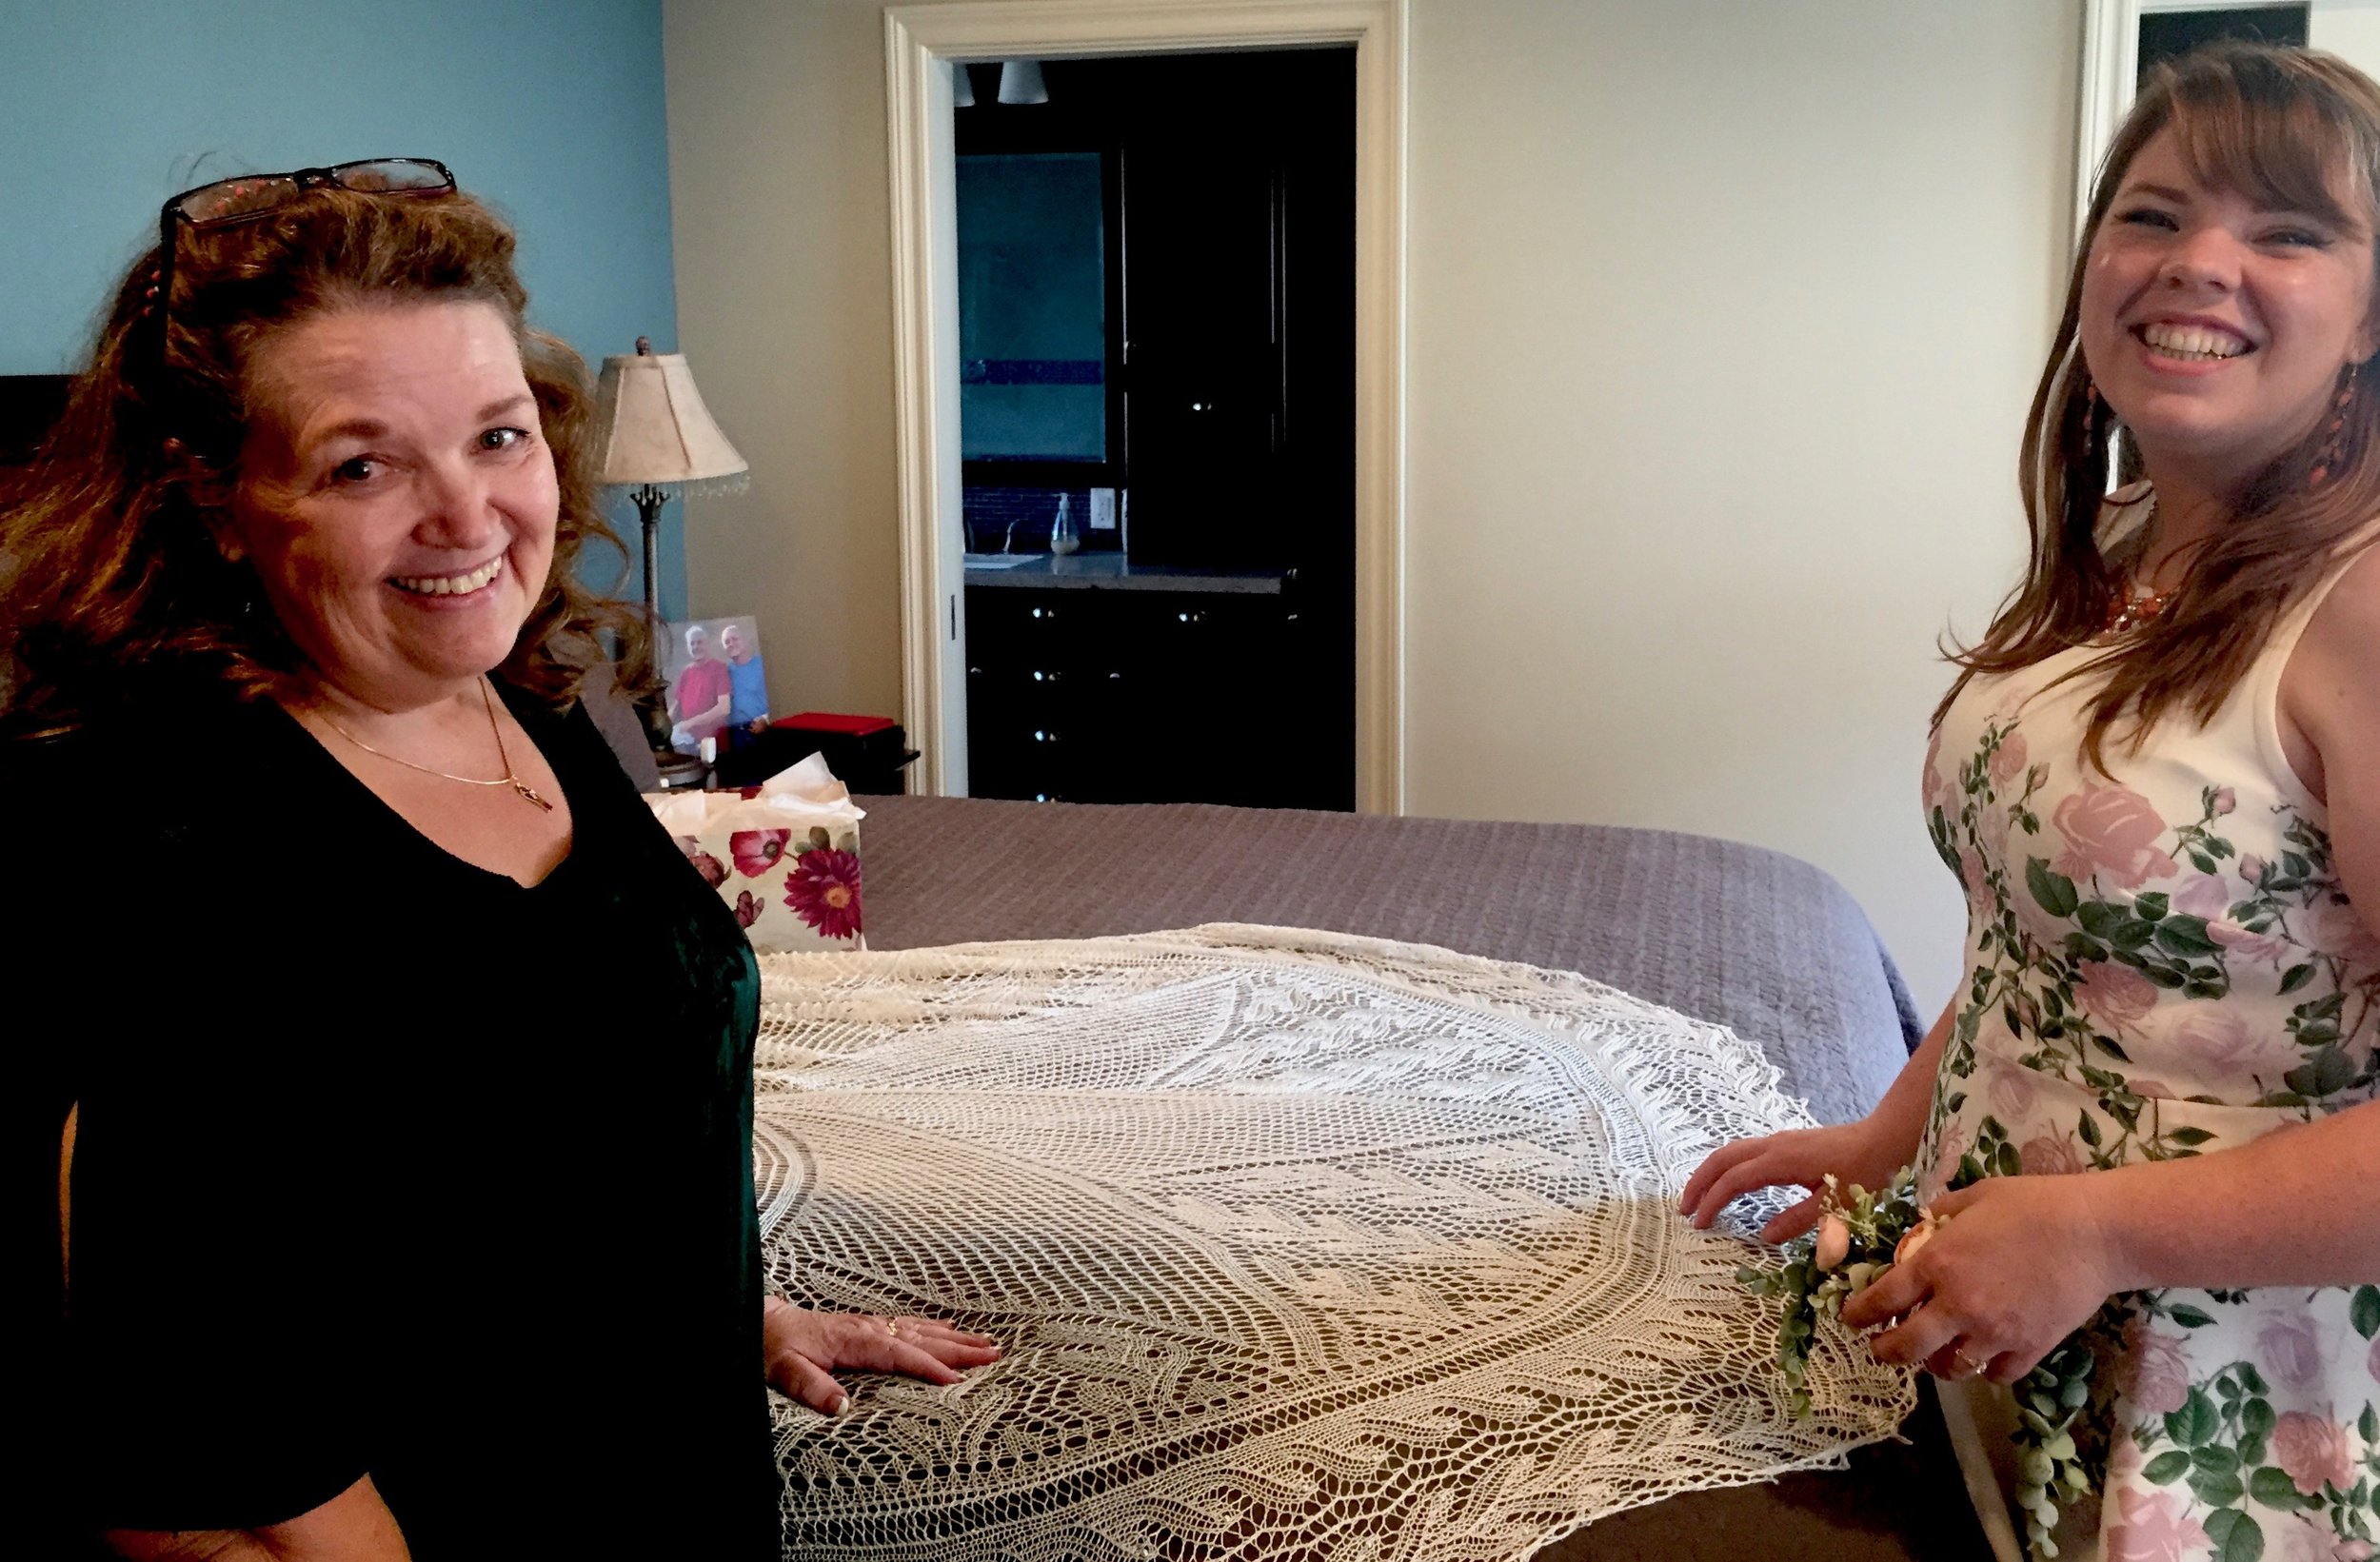
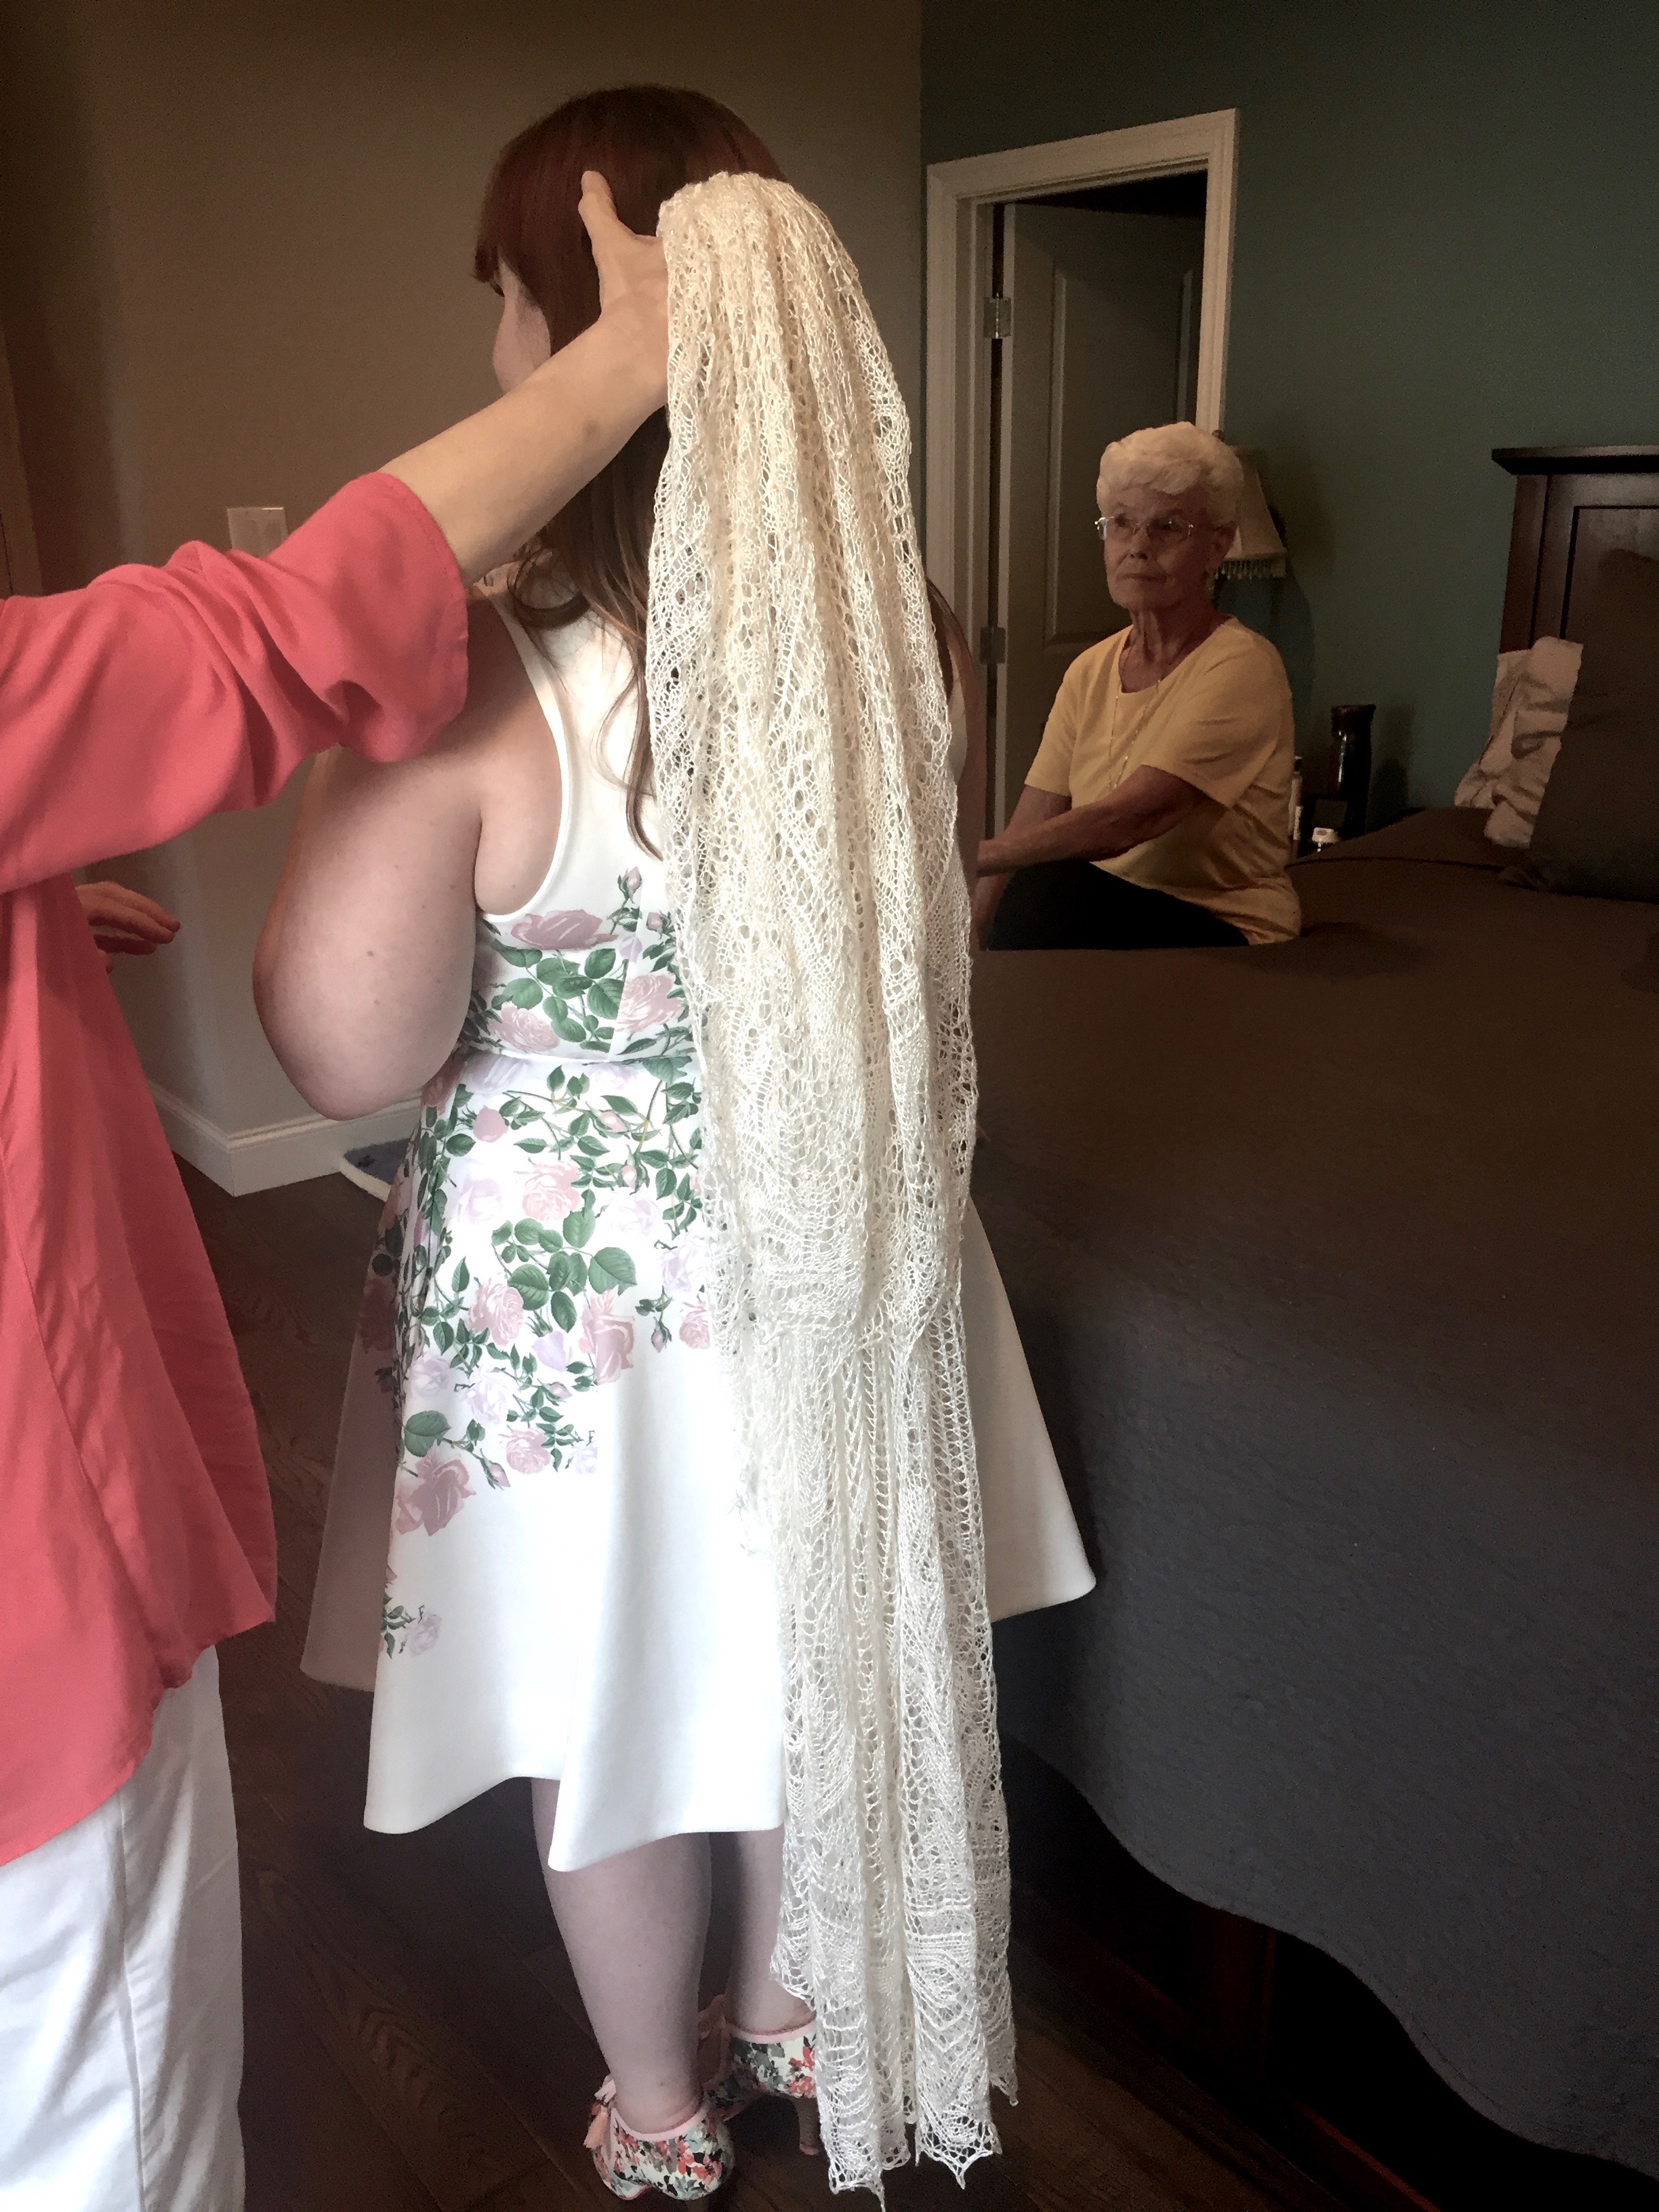
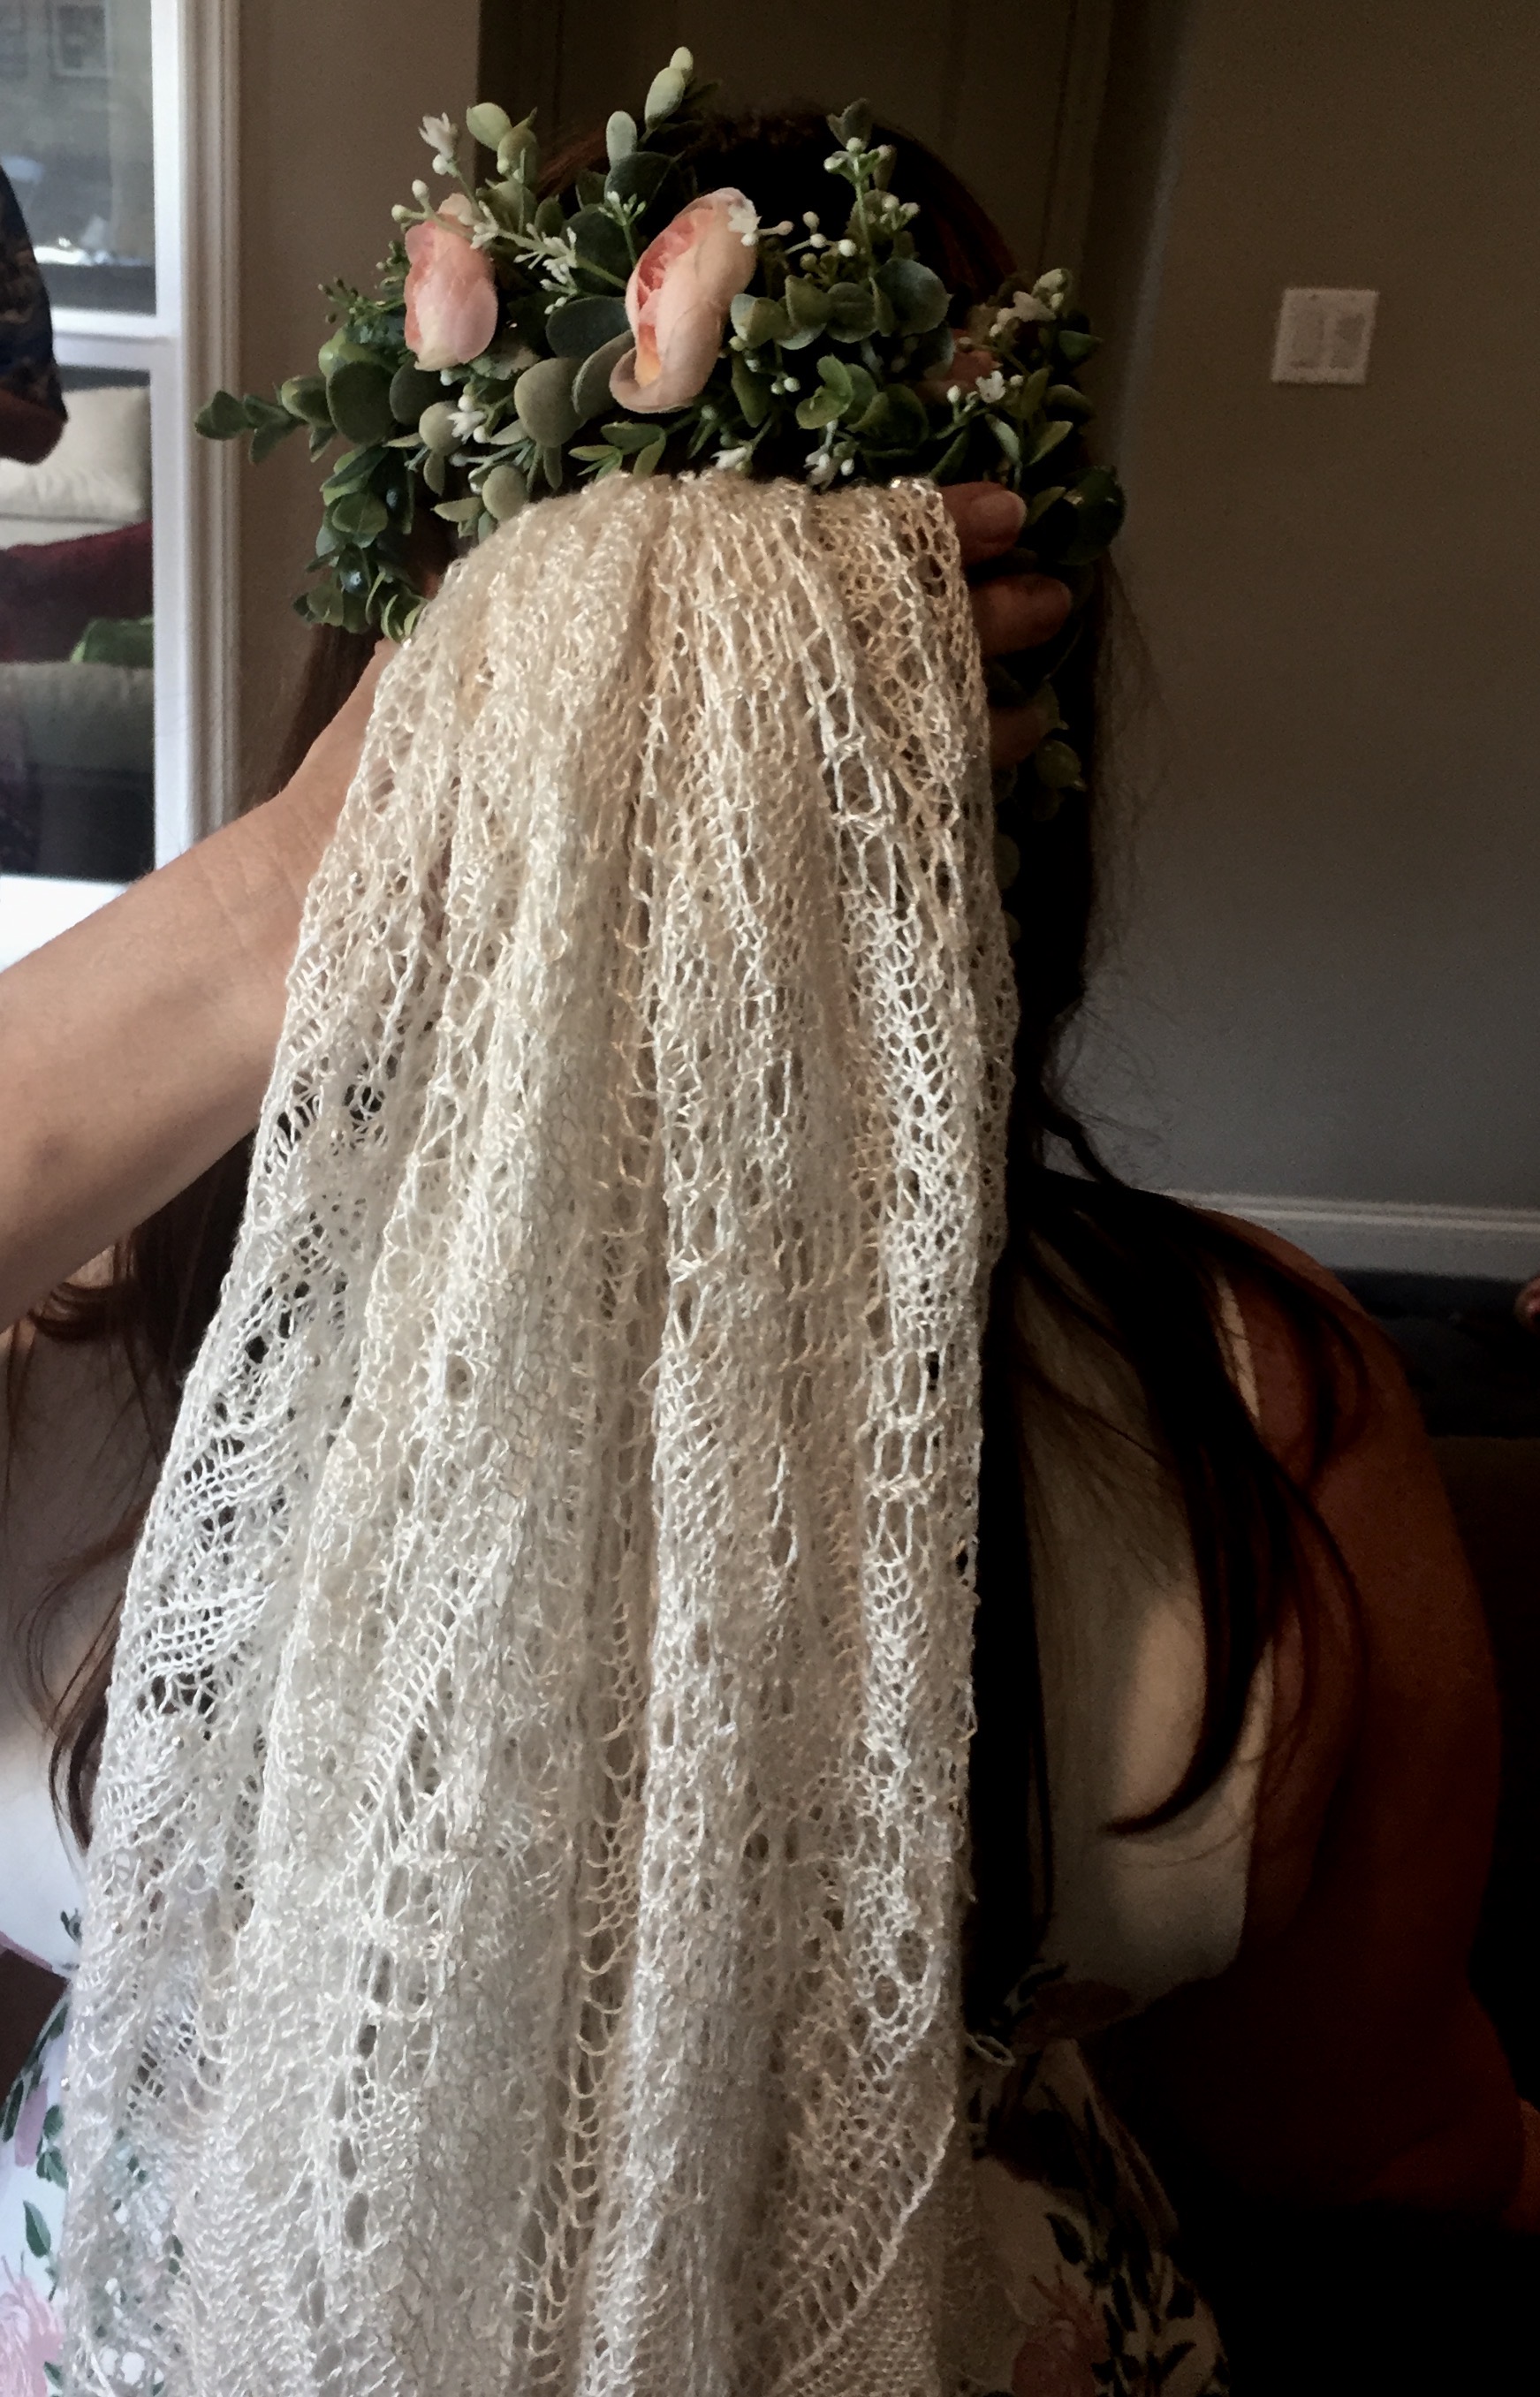
I had it done by her bridal shower. After most the people where gone the mom's and grandma's went into the back room to see it and figure out how she was going to wear it. We tried it several ways but once it was folded back by about a 1/3 the whole room said "that's it" almost all at the same time.
I wish I had taken picture of how I attached it. I took silk ribbon and weaved it through the gathered part one way and then back again. That way there was 2 rows of ribbon within the gathering. I cut the ribbon really long so I had plenty to sew the comb on with. I stitched the ribbon around the comb between the prongs. This meant I was not actually stitching onto the yarn itself. I pulled the ends to the center and just tied it in a bow so that it will be easy to take out.